This article describes the process of examination of a vehicle rear chassis condition for its customer, Nova Bus, by Creaform, a manufacturer of portable 3D measurement instruments and 3D Engineering Services.

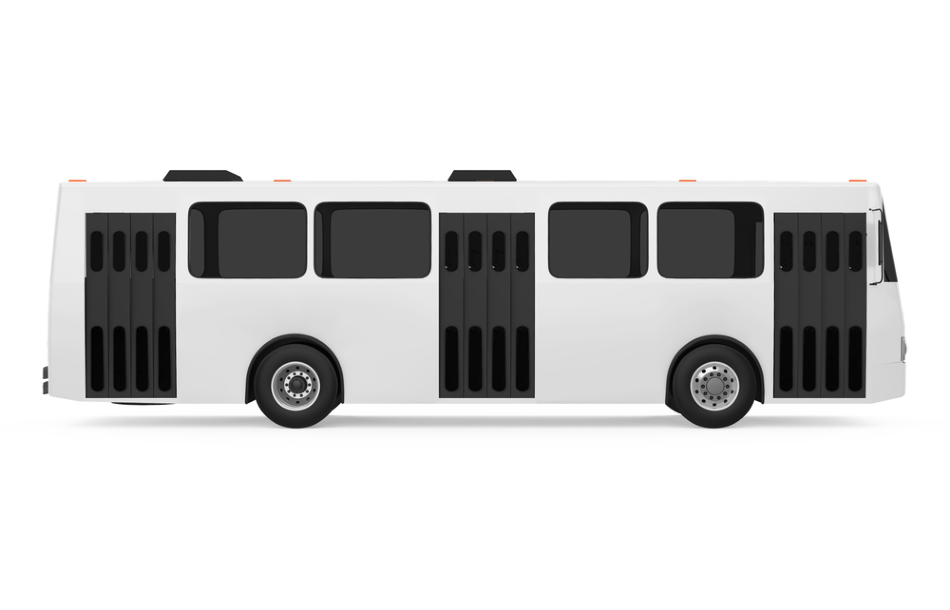
Image Credit: Shutterstock/Nerthuz
Nova Bus is a North-American urban transit bus manufacturer in need of a metrology solution for integration to its own services.
Rear Chassis Inspection Project
The project involves inspection of the state of the rear chassis of the vehicle. The results were then compared with the radiator mounting parts. In addition, the degree of deformation of chassis during installation was also assessed. Creating a stable measurement environment was challenging as the inspection was carried out on the assemble line at the Nova Bus premises. This, however, eliminated the need to employ digital measurement arms and laser trackers sensitive to changes in temperature, vibrations and movement. Other factors that impact the inspection process include using lift platforms to measure the zone located on bus roofs, and eliminating the assembly line during measurements.
The measurement device thus chosen had to be compact, portable and rapid enough to collect data to ensure reliable and efficient results.
Creaform Dynamic Measurement Function and TRUaccuracy Technology
The Creaform team stated that the Nova Bus consisted of a MetraSCAN 70 portable optical CMM scanner and a HandyPROBE portable armless CMM which ensure dynamic chassis measurements right from the assembly line, despite the physical impacts affecting the accuracy of measurements.
In addition, using the dynamic reference mode, the coordinates system can be directly locked onto the component to-be measured to maintain the orientation of the component during the probing and scanning process.
Process of Bus Rear Chassis Inspection
The following are the steps involved in the process of inspecting rear chassis of bus:
- Defining the mandate
- Installation of measurement device on the assemble line
- Performing measurements using the MetraSCAN 70 portable optical CMM scanner and HandyPROBE portable armless CMM
- Repeating the measurement process on five vehicles
- Analysis of data with respect to the radiator mounting points hole pattern, and through colorimetry assessing the geometric variations and distortion of rear chassis
.jpg)
Conclusions
The inspection process was completed in two weeks, which enabled continued manufacture without incurring measurement-related delays. According to Nova Bus, Creaform technologies met the industrial expectations in terms of flexibility, versatility, response time optimization and efficiency.
About Creaform Inc
Creaform is a worldwide leader in 3D optical measurement technologies and products. The range of products include portable 3D scanners Portable coordinate measuring machine (CMM), robot-mounted optical CMM scanners, optical coordinate measuring systems, handyscan 3D laser scanners, pipeline integrity assessment, etc.
Creaform serves more than 2000 clients, including BMW, Rolls Royce, Cessna, Boeing, GE, Renault, Toyota, amongst others. The company has offices all around the world in all major territories.
Creaform’s mission is to develop, manufacture and market cutting edge portable 3D measurement and analysis technologies that increase productivity. Through its expertise and the passion and commitment of its employees, Creaform helps companies from the manufacturing industry to seamlessly create, simulate, verify, and collaborate in 3D, significantly enhancing their turnaround times and profitability.

This information has been sourced, reviewed and adapted from materials provided by Creaform Inc.
For more information on this source, please visit Creaform Inc.