Manufacturing Automobile Wiper Blades
Automobile wiper blades must be durable to withstand challenging environmental conditions, including changes in temperature and humidity.

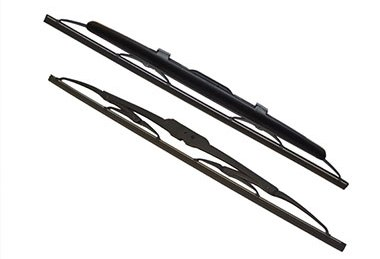
Wiper blade.
Manufacturers can design more durable wiper blades by observing and measuring the rubber blade before and after durability testing to inspect for the presence of cracks, tears, deformation, and foreign matter. However, it can be difficult to quantitatively measure changes in the wiper’s surface profile.
The Benefits of Measuring Surface Profile Changes in Wiper Blades Using a Laser Confocal Microscope
Laser confocal microscopes like the Evident LEXT™ OLS5000 system enable users to measure changes in the wiper’s surface profile by analyzing images and providing quantitative data. Here are some important system benefits:
- Images and 3D profile data can be acquired simultaneously, increasing the range of analysis.
- Users can freely draw a measurement line on the area of the image they plan to measure, enabling them to display a cross-sectional profile that helps them measure the width, step, and cross-sectional area between any two points.
- The analysis function enables operators of all skill levels to easily and accurately measure the line width, step, surface roughness, and volume by specifying the measurement region.

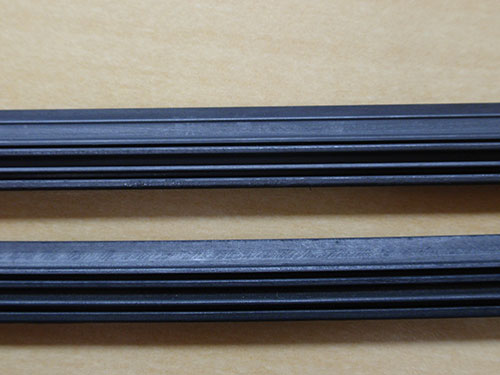
Wiper blade (top: new wiper blade; bottom: blade after durability test).

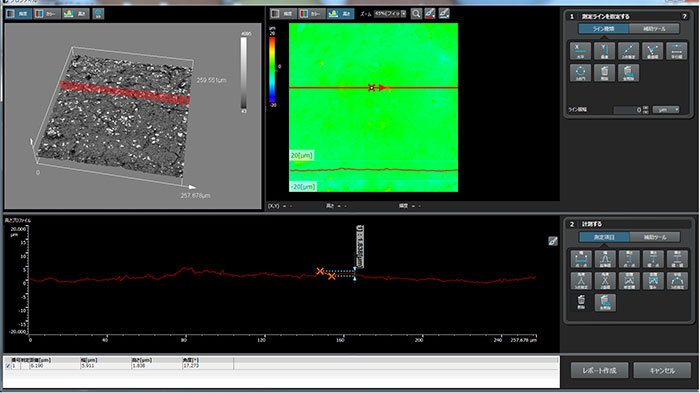
Surface profile measurement of a new wiper blade; 50X objective lens.

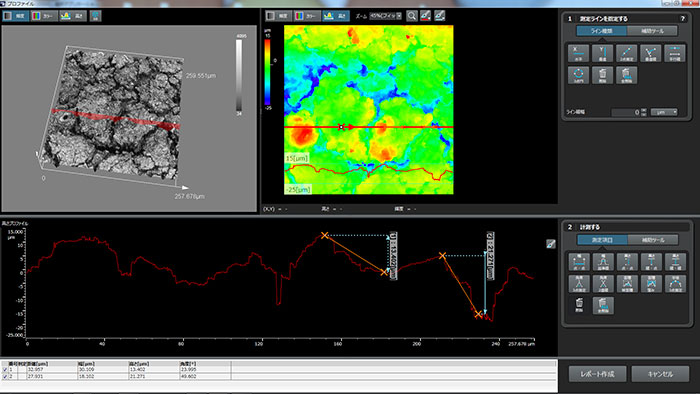
Surface profile measurement of a wiper blade after durability testing; 50X objective lens.

This information has been sourced, reviewed and adapted from materials provided by Evident Corporation - Industrial Microscopy.
For more information on this source, please visit Evident Corporation - Industrial Microscopy