 Interview conducted by Olivia FrostReviewed by Olivia FrostNov 16 2022
In this interview, Erik Novak, Ph.D., the General Manager at 4D Technology, talks to AZoM about why automotive paint is essential for vehicle manufacturers.
Why is automotive paint essential for vehicle manufacturers?
Paint and finishings are crucial for customer satisfaction and are a way for consumers to project individualized branding through color, make, and model choices. Dissatisfaction with a vehicle’s paint and coating is the number one reason why buyers reject a new purchase on delivery.
They are also essential to prevent the corrosion and decay of the body of a vehicle. A good finish makes the vehicle easy to wash and keeps a car looking good, enabling it to maintain its structural integrity for the duration of its life.

Image Credit: 4D Technology
What percentage of car production costs go into paintwork?
In the assembly plant, a substantial investment is made in the paint shop for equipment and processes, including automated lifts, baths, conveyors, ovens, chemicals, inspections, and rework. These are all necessary to achieve customer satisfaction. Paint and coatings account for around 30% of a car’s production costs, including facilities and energy budgets.
How has car manufacturing changed, and how has this impacted the paintwork aspect of the industry?
An ongoing revolution in car manufacturing is ‘lighweighting’ or reducing mass. This comes down to physics. Reducing mass impacts mileage (and electric vehicle range) more than any other engineering process. This means that manufacturers use less steel and more aluminum, rubber, plastic, and carbon fiber parts – even in the bodies.
A steel fender and an aluminum car door, for example, have different surface microstructures and require different finishing techniques. Paint does not adhere to them equally, resulting in a remarkably different visual outcome. Sufficient paint on one might be too much paint on the other.
The same is true for plastics and rubber, which might require different paint formulations than metal, leading to differences in color, gloss, and smoothness that a discerning eye could detect.
What is the new 3D surface measuring instrument, and what are its advantages for car manufacturers?
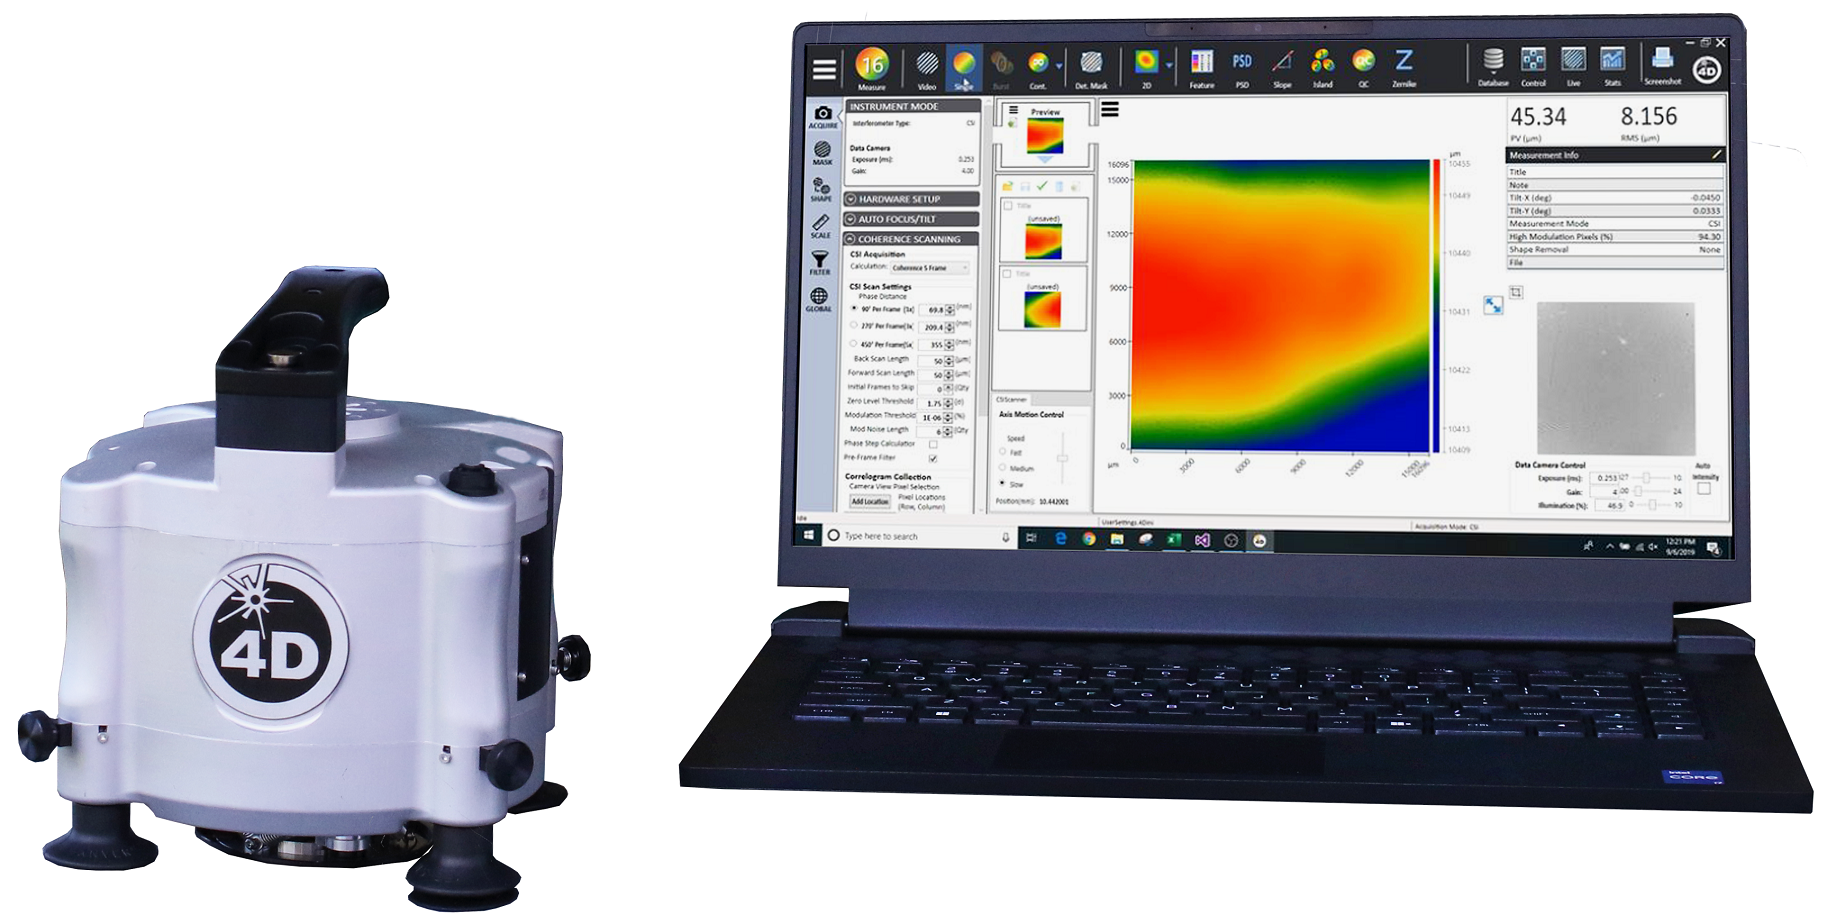
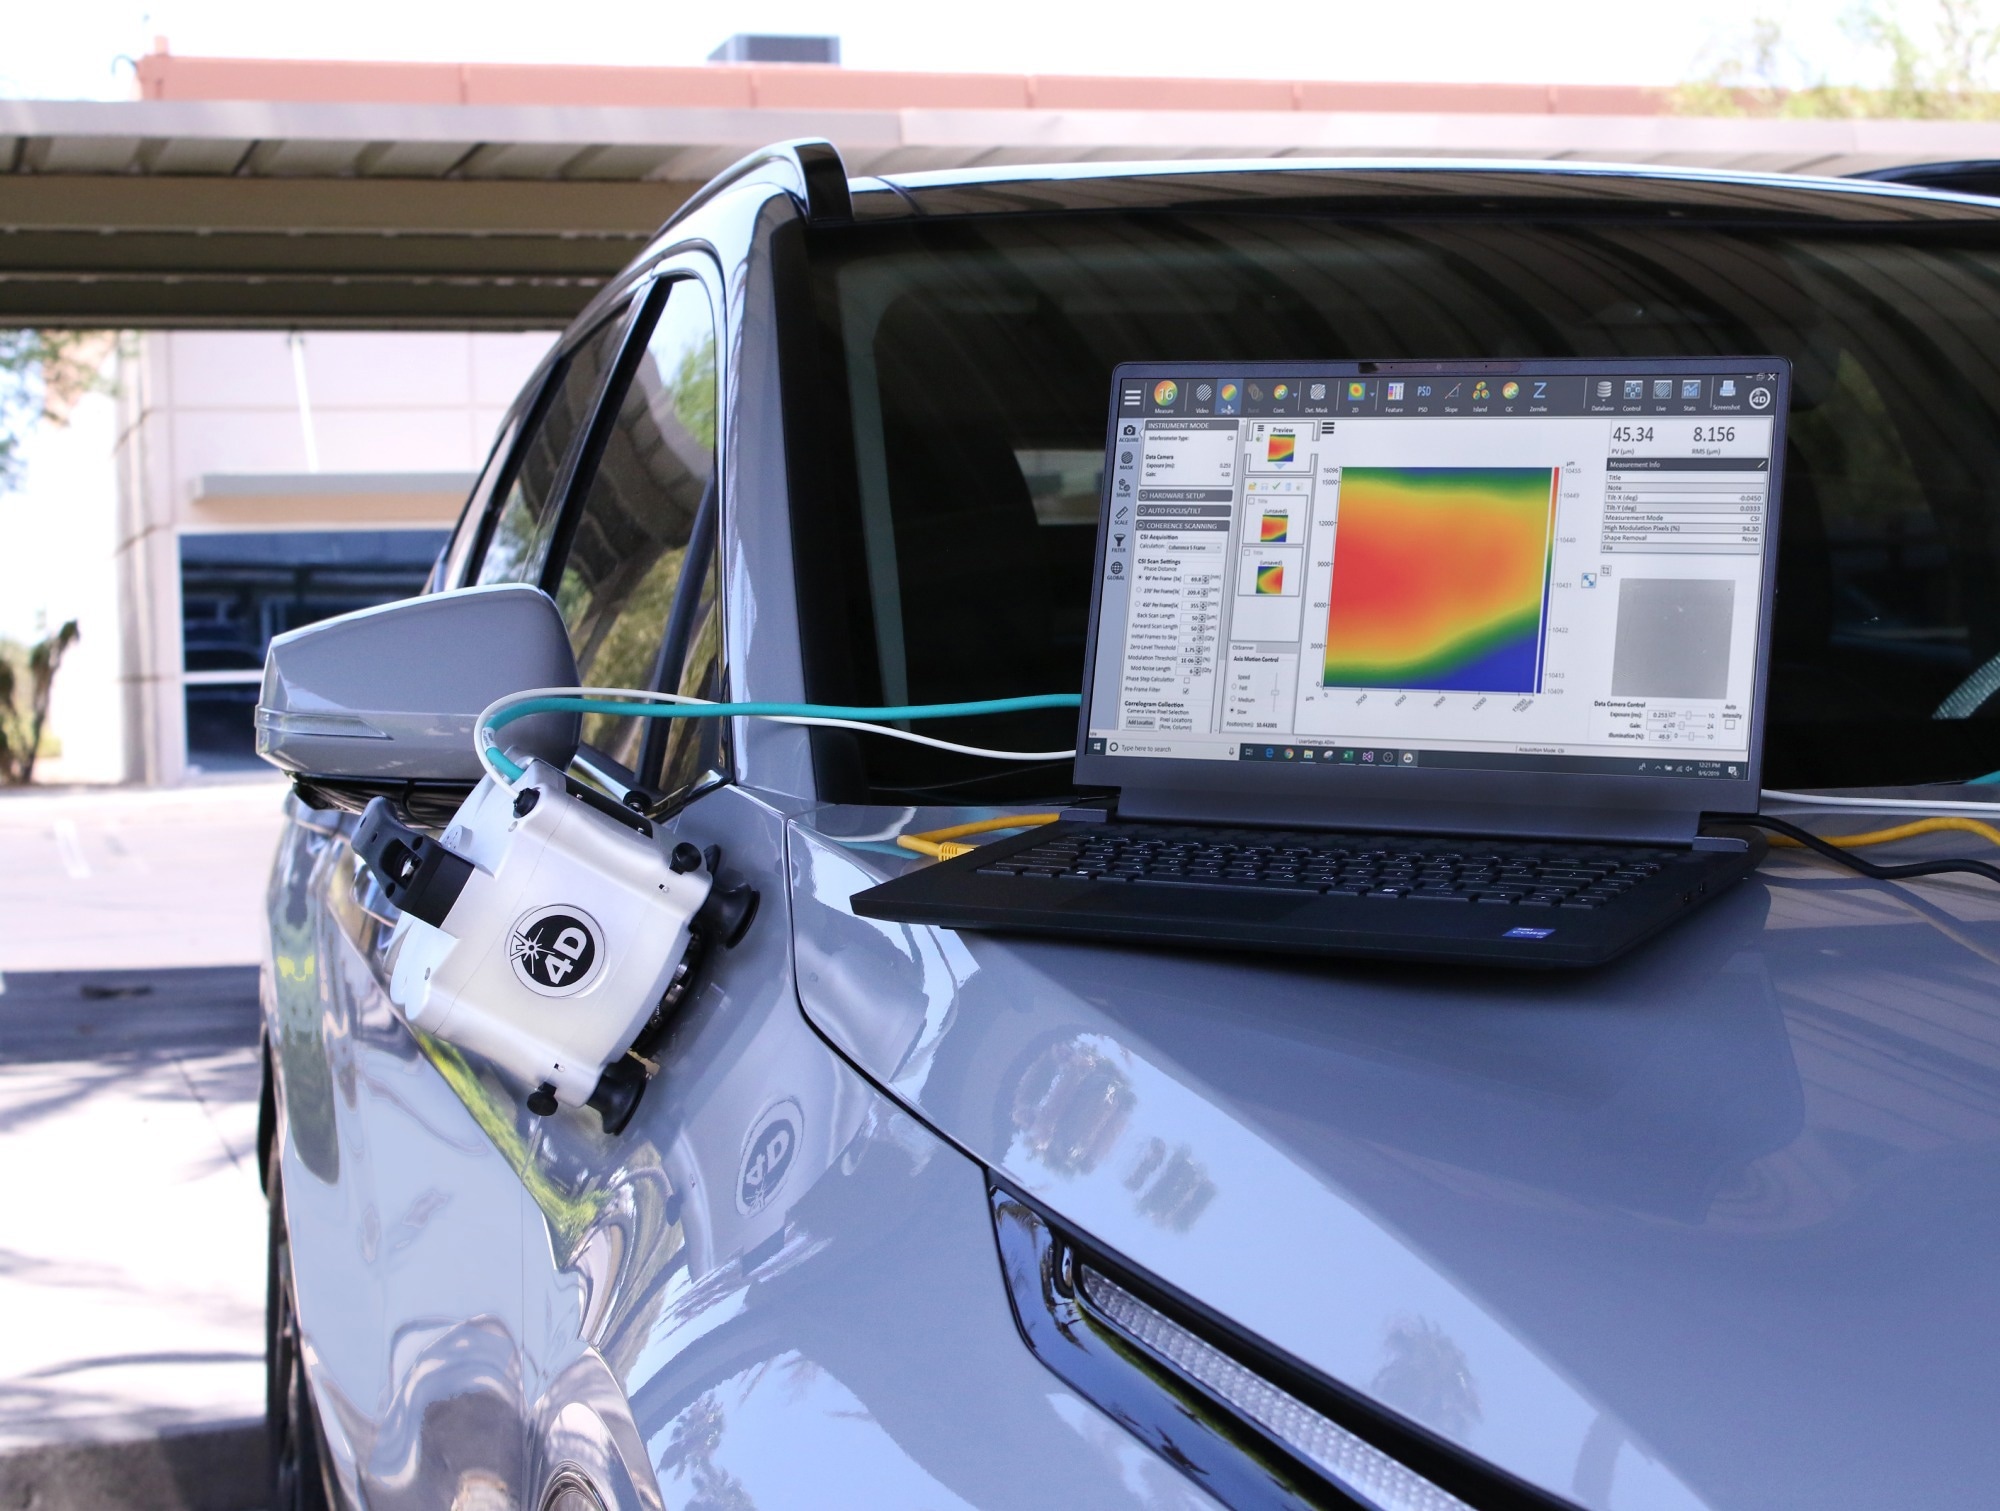
Firstly, the 4D SurfSpec is portable. It can be placed on a car part, a roll of metal, or a molded part – even on vertical surfaces or upside-down. It is a 3D microscope with an extensive field of view that can measure surface roughness using a technique unaffected by shine or color. This makes it possible to measure bare metal, plastic, primed materials, and painted surfaces.
Once measured, results acquired during assembly can be correlated to later and earlier stages. This is because the same technique and sensor are used at each stage, with highly accurate and repeatable results.
The measurements determine the three-dimensional surface shape, so they are not impacted by surface grain orientation the way a linear gauge would be. The 4D SurfSpec gauge is non-destructive and robust enough to be placed on a car part on the assembly line. It does not need to live in a quiet metrology lab, so there is no need to cut down oversized parts, use witness samples, or interrupt assembly in the evaluation process.
What is this instrument designed to evaluate?
Each step in the assembly process can affect future paint flow and adhesion to the car body. Differences may be seen as the result of the texture of rolled metals, the stress lines that appear after stamping and hemming a part, or the amount of e-coating that different parts are exposed to, right up to the angle, force, and volume of paint sprayed.
Until this instrument was developed, car manufacturers could not accurately predict a painting outcome based on earlier materials and process conditions.
How does this help avoid microstructures in raw materials?
By fingerprinting the process from raw materials to the final coat, auto manufacturers and their suppliers can identify microstructures in raw materials that can affect the finish.
With access to a library of minimum requirements, they can specify the surface parameters required, and confirm on delivery that the materials have the desired microstructure. Certain manufacturer clients have already suggested that their suppliers use the 4D SurfSpec for this purpose.

Image Credit: 4D Technology
Why are microstructures undesirable, and what issues can they cause?
On the substrate, a certain microroughness is desirable because it helps paint adhesion, flow, and smoothness. Structures up to 5 mm long, such as roller waves or stress lines in folded aluminum, become visible to the human eye on a smooth, glossy, painted surface.
On these surfaces, they appear as orange peel or roping effects but can be masked in an unpainted surface that has surface roughness, or color changes due to contaminants and heating.
Data needs to be filtered with band-pass filters to highlight these structures. These structures are easier to detect in areal measurements than in 2D profiles. Aside from the “waviness” of a surface, another feature that introduces complications during the painting process is smaller, 20 µm diameter dips that produce pinholes in the paint.
These can be very difficult to spot in the “noise” of raw roughness data, and they are easy to pass over if a stylus profile is relied on to identify them.
What can auto manufacturers do about parts that have been e-coated or primed?
Measuring an assembled auto body that has already been e-coated or primed offers one more opportunity to rework a region that could fail during the final coating. Whether the surface needs rework or the prep coat needs remediation, the overall finishing will be better if it can be fixed before painting.
Why is this assessment critical, and what can it help prevent?
If a part needs to be masked, stripped, and spot-repainted, it will inevitably cost time and money. Reworking them is time-consuming and painstaking. Sometimes there is no assurance that the “fix” will also be successful. Correctly assessing the part can help prevent pinholes, drips, runs, orange peel, roping, and haze, all of which are considered undesirable defects in the paint shop.
What defects can the instrument spot in finished coats of paint?
Quantifying defects is even more critical than spotting them. In a 16 x 16 mm field of view, the analysis software can instantly count how many pinholes there are.
With 15 nm height resolution, the measurement is extremely sensitive for capturing the structure of orange peel, even if it is undetectable to the human eye. The manufacturing process will benefit from knowing how often a finish is close to failure or rejection.
Why is this instrument ’a first’?
4D SurfSpec is the only production-line 3D surface measuring instrument that can fingerprint surfaces across an entire automotive coating process, helping manufacturers and suppliers identify optimal surface conditions before the coating process begins.
It is the only instrument on the market capable of evaluating the entire process, identifying features that lead to paint defects like orange peel, roping, and pinholes. It also offers comprehensive, high-resolution 3D non-contact measurements that are non-destructive and quick, enabling measurement on the production floor.
Finally, it can be used by auto manufacturers and their material suppliers to ensure that production parts produce a consistent, high-quality finish.
How do customers benefit from the prep-to-finish utility?
Firstly, it translates to increased consistency and an excellent final product with less rework. This is because having a process fingerprint inevitably leads to a more consistent, less defect-prone result. The capacity to check each stage means clients can call for a part’s remediation or scrap before committing to the finishing and “value-adding” steps, saving work and materials.
Quantifying the pass-through effects of different starting conditions will mean that manufacturers can specify desirable surface parameters, and suppliers can test in advance to avoid rejection. Everyone in the supply chain gains confidence.
When process steps like folding, hemming, and welding can impact surfaces and result in poor coating on a piece of sheet metal, inspecting those “trouble areas” with pass-fail specifications can prevent a problematic part from being assembled into a finished body.
Process engineers can detect change-over-time trends by measuring the final coat, with 3D measurements going into a database of outcomes. This is another aspect of reassurance that comes with quantitative records: the user can refer to any previous measurement and confirm that that defect was not present in that stage, building trust and improving root cause analysis studies.

This information has been sourced, reviewed, and adapted from materials provided by 4D Technology.
For more information on this source, please visit 4D Technology.
Disclaimer: The views expressed here are those of the interviewee and do not necessarily represent the views of AZoM.com Limited (T/A) AZoNetwork, the owner and operator of this website. This disclaimer forms part of the Terms and Conditions of use of this website.