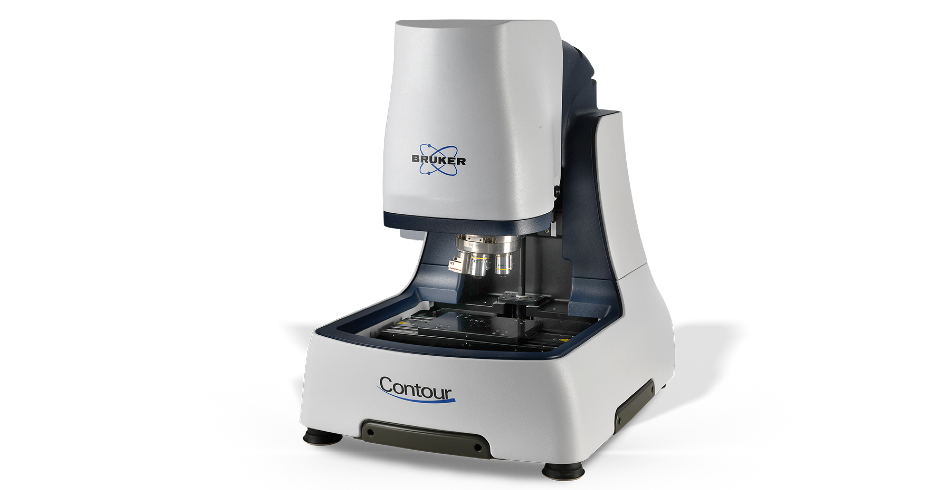
Bruker today announced the release of its next-generation benchtop ContourX 3D Optical Profilometers for gage-capable surface texture and roughness metrology in R&D and manufacturing environments.

The white light interferometry (WLI) platform features Bruker’s new USI mode, a universal scanning mode that automatically determines the optimal measurement parameters for best metrology results, as well as Advanced PSI mode for lower-noise measurements and best-in-class, subnanometer Z resolution. Additionally, a 5MP camera and new stage design significantly boosts large-area stitching, allowing for the collection of 1000 high-resolution stitched fields.
This combination of features and capabilities enables greater convenience and productivity in a host of demanding research and industrial applications, ranging from studying novel material structures and characterizing manufactured components for medical, automotive, and aerospace to highly accurate measurements for precision machining, cosmetics, and semiconductor manufacturing.
“Starting with our original Wyko instruments and continuing over four decades of innovation in high-precision surface metrology and imaging, Bruker’s optical profilers have become known for the best Z-axis resolution, independent of magnification, as well as the fastest measurements with the largest fields of view on the most difficult surface geometries,” said Kent Heath, Vice President and General Manager of Bruker’s Tribology, Stylus and Optical Metrology Business. “By continuing to push the envelope of what this technology can do, the ContourX systems offer previously unattainable measurement capabilities in a benchtop form.”
“ContourX is truly a leap forward in surface measurement performance, particularly in light of our new USI mode. These systems will be the new benchmark for productivity and nanoscale surface roughness and topology measurements for academic research, industrial R&D, microelectronics, optics and sensors,” added Robert Cid, Global Product Manager.