Durability of components under dynamic load can be increased by understanding the origin of the stress and strain distribution. While numerical simulations based on finite element (FE) models can help with this understanding, it must be validated by real component data.
Polytec provide a 3D Scanning Laser-Doppler Vibrometer with an advanced, non-contact optical test solution called StrainProcessor.
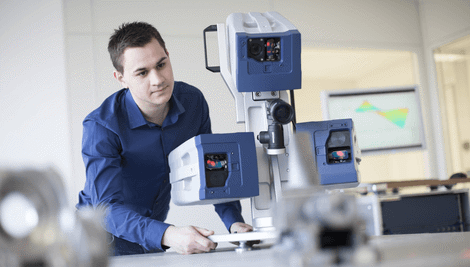
Optical 3D Strain Measurement with PSV-500-3D
How it Works
Polytec’s StrainProcessor is an extension developed to update FE models and to compare with measured stress and strain distributions. It includes a set of software and hardware components, enabling a PSV-500-3D Scanning Vibrometer to calculate and analyze the distribution of dynamic strain and stress on surfaces with low noise and high resolution.
The PSV-500-3D Scanning Vibrometer is a precision tool developed for full-field optical vibration mapping.
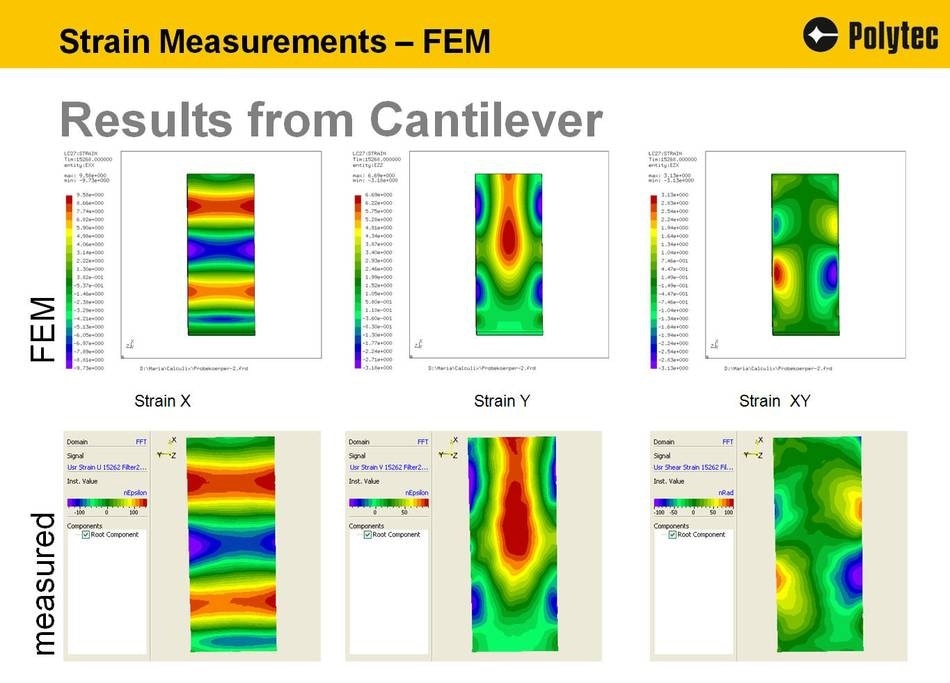
Using a laser probe, the PSV-500-3D Scanning Vibrometer performs a series of non-contact deflection measurements on a predefined grid to characterize the strain at each point rather than attaching individual strain gauges. As a result, the test set-up is rapid and repeatable without any mass loading from a coupled transducer. Tests are fast and avoid the high cost of preparing and instrumenting the sample with strain gauges.
Benefits
- Better accuracy from non-contact probe
- Quick setup and fast results
- Full-field method: direct visual comparison to FE results
- Safe method: high spatial distribution to measure the locations of maximum strain
- No mass loading, damping, and stiffening
- Variable field-of-view for different object sizes
- High spatial resolution at no extra cost
- Measure using FEM geometry import or manual definition for model validation
The Strain Extension
A set of software and hardware accessories is included in the Strain Extension to enable a PSV-500-3D-M or PSV-500-3D Scanning Vibrometer to precisely determine the raw data (displacement) and then post process this data into a full-field strain distribution.
The StrainProcessor
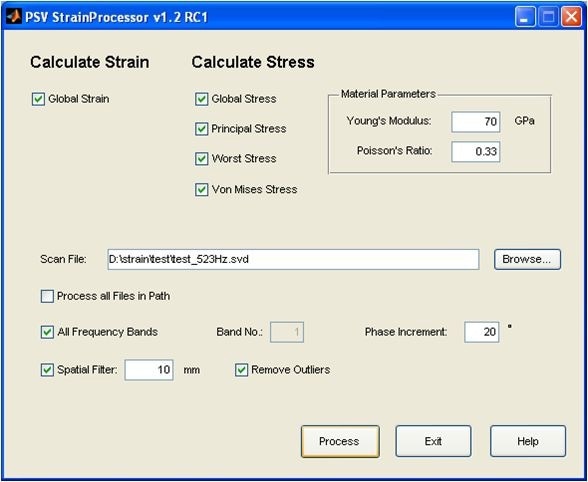
The PSV-500-3D is a full-field vibration measurement system. The Scanning Vibrometer PSV Software measures the 3D vibration vectors from the raw data, and strain is processed from the displacement data using the StrainProcessor software package, which is a stand-alone software with a direct data interface to PSV software.
To measure strain, virtual strain gauges are placed at each edge of a triangulated measurement grid. The distribution of the strain values is displayed and animated as a color-coded map. For isotropic materials, stress distributions are measured from the strain distributions.
To achieve good quality input data, the StrainProcesor extension is supported by specially designed accessories.
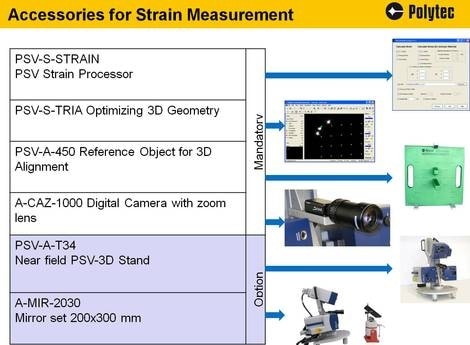
A software option for PSV Software (version 8.6 or higher) optimizes the measurement point geometry with the PSV-500-3D Scanning Vibrometer by image processing to improve the accuracy of the geometry measurement of the Geometry Scan Unit, particularly for small objects, for strain measurement, and for high-frequency measurement.

PSV-3D’s precision is determined both by the precision of the sensor and by a precise definition of the position of the three sensor heads in space. The procedure to obtain this specific information, known as 3D alignment, is supported for high-frequency or high-precision measurements by a reference object. It includes a tripod adapter for VIB-A-T02 tripods, enabling convenient positioning and adjustment in front of the true measurement object.
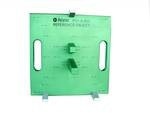
Precisely machined and marked reference points with known coordinates and a well-balanced distribution of these marks in space on the reference object enable a precisely defined alignment of the PSV-3D measurement system to obtain perfect results.
There is an external digital camera with macro zoom lens for the PSV-3D Scanning Vibrometer Systems. It enables precise measurement point definition on small samples, and offers higher resolution compared to the internal camera of the legacy PSV-400 series for short working distances and small objects.
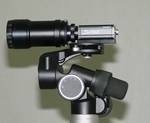
- C-mount
- monochrome
- Resolution 1034 x 779 pixels
- 1/4" thread adapter for tripod mounting
Includes a 1/3" C-mount macro zoom lens
- Focal length 8.5 mm - 90 mm
- Smallest field-of-view 6 x 8 mm
- Minimum working distance 178 mm
The PSV-A-T51 and PSV-A-T34 tripod systems also come with mounting adapters.
Tabletop Tripod PSV-A-T3
Tabletop Tripod PSV-A-T3 provides rigid support for three PSV-400 or PSV-500 scan heads. The angle between the scan heads is balanced and optimized for resolution of all vibrational components (out-of-plane and in-plane). The tripod provides support to PSV-A-515-Z and A-CAZ-1000 cameras.

The tripod is an essential accessory for measuring small parts and is also useful for measuring dynamic strain with the PSV-3D Scanning Vibrometer.
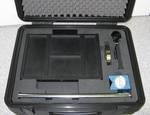
A-MIR-2030 Mirror Set; 1 mirror 200 x 300 mm + magnetic stand
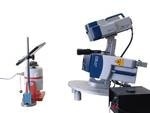
A-MIR-2030 Mirror Set for 3D turbine measurement

This information has been sourced, reviewed and adapted from materials provided by Polytec.
For more information on this source, please visit Polytec.