When used for materials testing, extensometers are used to accurately measure material properties that are critical for a vast range of engineering designs - aircraft, energy systems, medical devices, and civil structures, to name a few. Very often, human lives depend on accurate and consistent measurements made with extensometers.
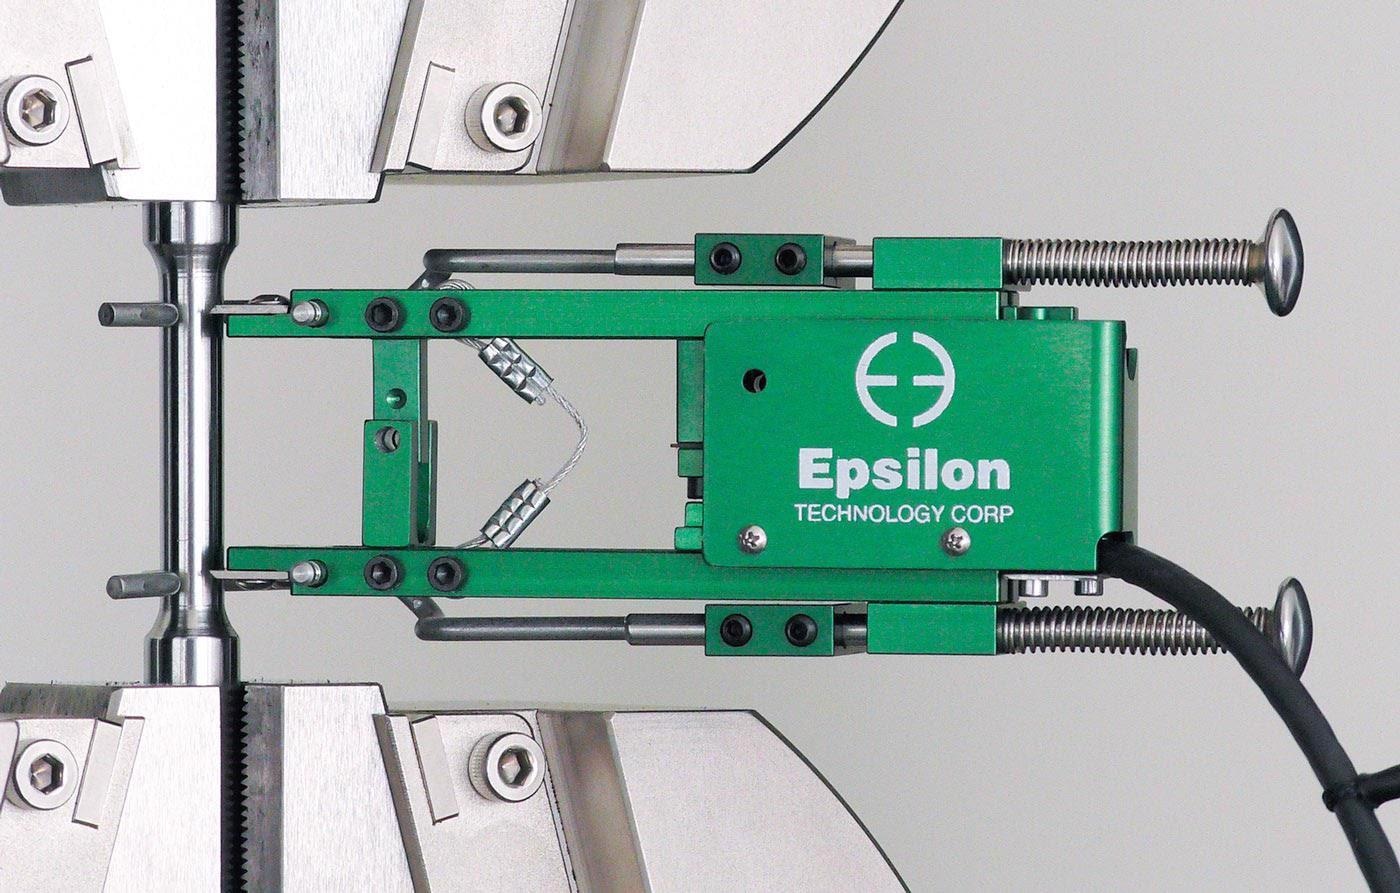
Extensometer for Tensile Testing of Metals
Image Credit: Epsilon Technology Corp.
Testing structural materials often requires extensometers to make accurate extension measurements of only a few microns or tens of microns (which are much too small to see without magnification), and sometimes while under dynamic conditions at 1200 °C, or submerged in corrosive liquids. Measuring the properties of extremely extensible materials such as latex rubber is also typical.
Extensometers measure the extension, compression, or shear deformation of a material sample when force is applied in a testing machine. Critical properties such as elastic modulus, offset yield, and complete stress-strain curves are measurable when using an extensometer. They are often used to measure the test piece’s strain, which is calculated by dividing the change in the test specimen’s length by its original gauge length.
This article’s discussion also applies to transverse/diametral extensometers used to measure Poisson’s ratio and r-values of sheet metal, crack opening displacement gages (COD gages) used for fatigue crack growth testing and fracture mechanics, and for deflectometers used to measure displacement in flexural testing. The term “extensometer” will be used to encompass all of these transducer types throughout this article.
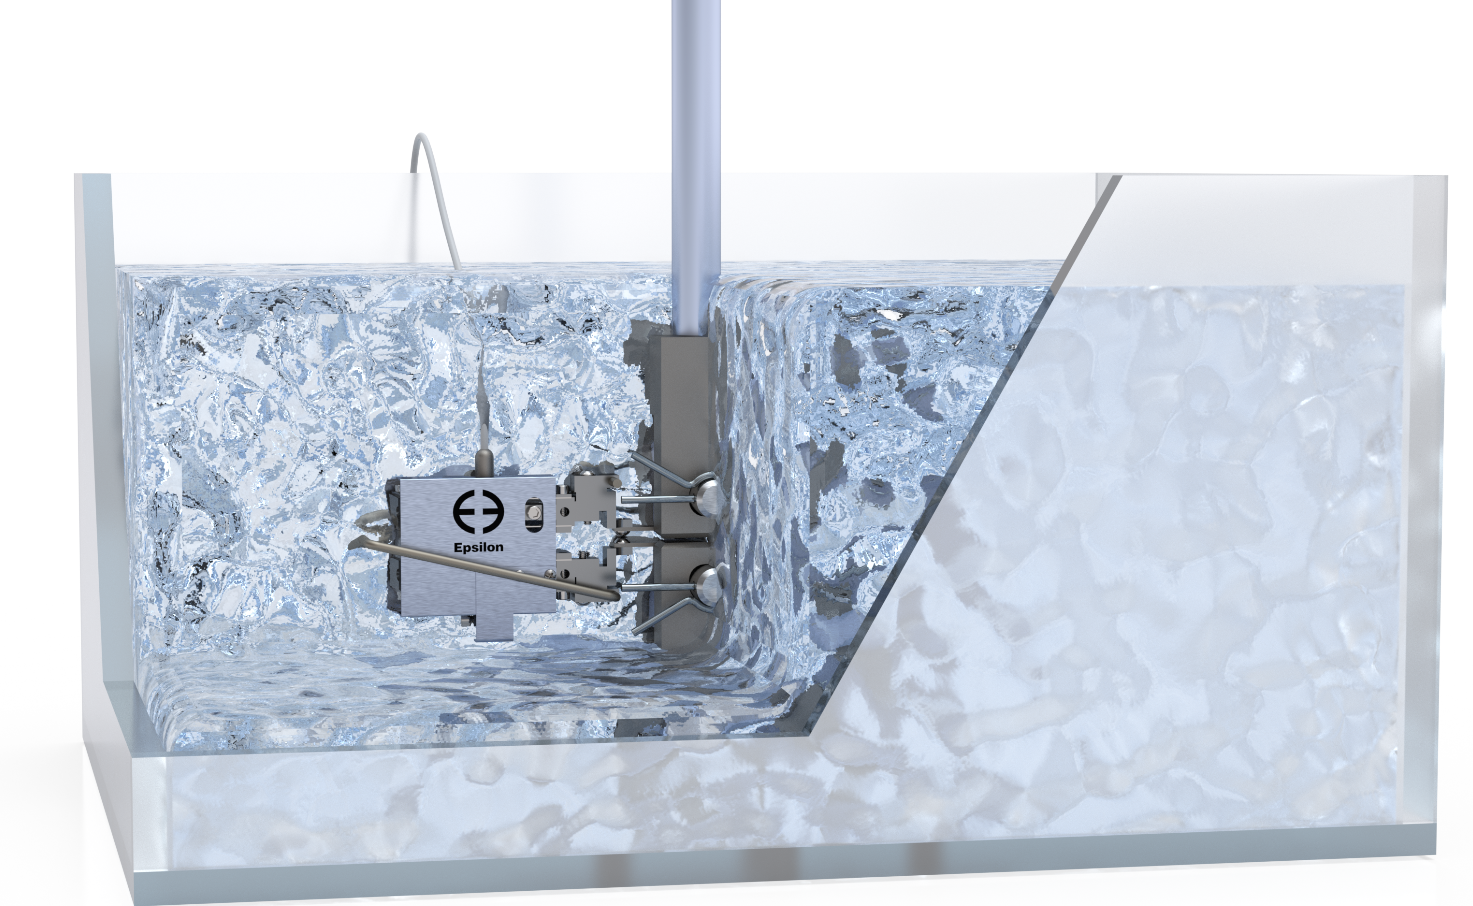
COD Gage for Fracture Toughness Testing While Submerged in Saline (CAD Model Shown Above)
Image Credit: Epsilon Technology Corp.
Extensometers measure strain (or displacement) directly on the test specimen. As a result, they provide far more accurate and repeatable measurements than measurements based on the motion of the testing machine’s grips, which include errors from the compliance of the testing machine. They come in a great variety of shapes, sizes, measuring capacities, and temperature ratings, and they may contact the specimen directly or make measurements optically without contacting the specimen. Extensometers are reusable and last for years, and they are very cost-effective compared to adhesively bonded strain gages or digital imaging measurements. Extensometers are often designed for a specific application, such as fatigue life of alloys used in turbine engines, shear modulus of aerospace adhesives, or concrete’s compression properties.
Specialized types of extensometers are also used for geotechnical measurements and borehole drilling, but this article focuses on extensometers designed for materials testing.
The importance of calibration, verification, and traceability
With so much depending on measurements made using extensometers, how can you make sure that the measurements are accurate and comparable between different test labs? The answer: calibration and traceable verification.
Calibration
Calibration is the process of adjusting the testing machine’s electronics to make the extensometer and electronics’ output, as a pair, match a reference. The reference can be based on moving the extensometer to a known displacement using an extensometer calibrator or electrically changing the extensometer’s output using an electrical reference such as a shunt calibration.
Calibration alone generally does not assure that the critical strain measurements shortly after a test begins are correct. This is where verification and traceability come in.
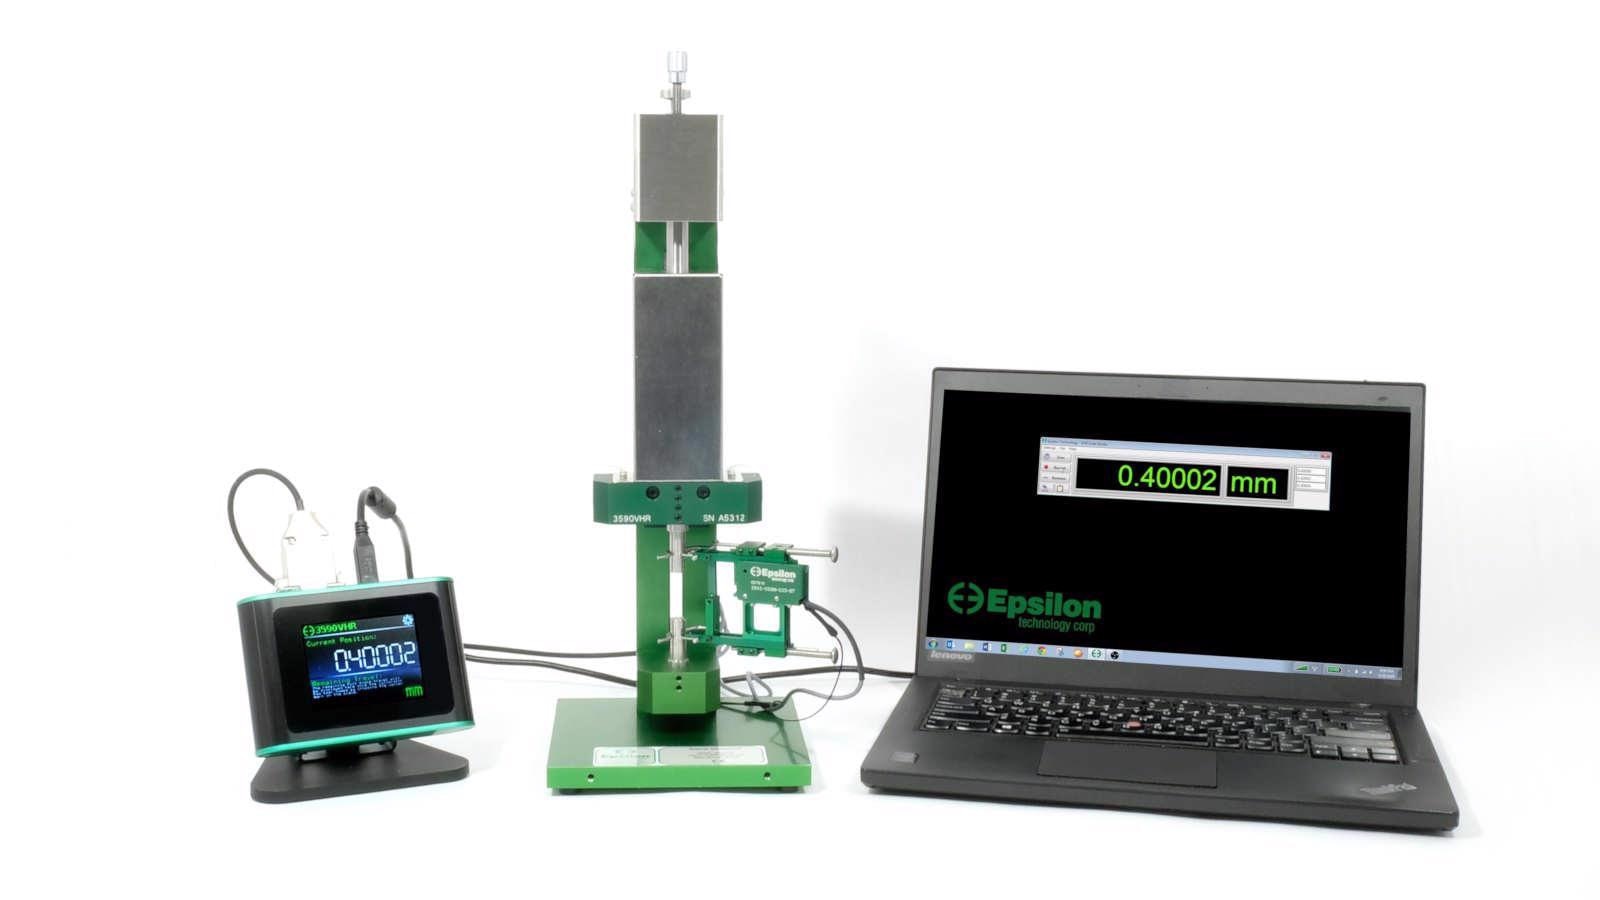
Extensometer Calibrator with Extensometer Attached
Image Credit: Epsilon Technology Corp.
Verification
Once the extensometer and the materials testing machine are calibrated as a system, it is also critical to verify the extensometer, electronics, and readout (or data acquisition software) as a system.
With verification, the goal is to prove that measurements made with a specific extensometer, electronics, and readout (the extensometer measuring system) are accurate compared to a reference. The reference is usually an extensometer calibrator that has been calibrated with traceability to the International System of Units (SI).
During verification, the extensometer is attached to the extensometer calibrator, and the calibrator is moved to many positions between the extensometer’s zero and full-scale displacements. At each position, the extensometer measuring system’s output is compared to the calibrator’s output. Since the calibrator is the reference, differences between the extensometer and calibrator readings are errors in the extensometer measuring system. The errors are recorded and compared to allowable accuracy class limits for the errors. ISO 9513 and ASTM E83 specify procedures and accuracy class limits.
Without traceability and verification, you cannot be certain whether your measurements are comparable to other labs, such as your customer’s, or even if data from a different testing machine and extensometer in your own lab would agree. Just imagine what would happen if tests in your lab indicate that your product meets specifications, but your customer’s test lab shows that your product does not. Traceable verification will be one of the first things that both companies check.
What are the gauge length and measuring range of an extensometer?
What is Gauge Length?
An extensometer's Gauge Length is the distance between the extensometer’s initial measuring points on the test specimen.
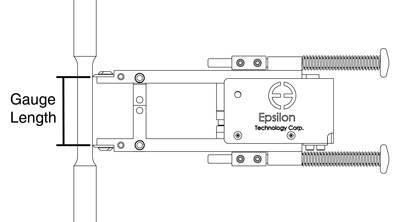
Image Credit: Epsilon Technology Corp.
If you are using a testing standard, such as an ISO or ASTM standard, check the standard for extensometer gauge length requirements. Many test standards specify the specimen dimensions and a matching extensometer gauge length.
What is Measuring Range?
An extensometer’s Measuring Range is the extensometer’s measuring capacity in tension (+) or compression (-) in units of % strain, maximum extension, or maximum deflection. When the measuring range is specified in units of % strain, this refers to the maximum extension as a percentage of the initial gauge length. Maximum extension, displacement, or deflection will be in length units such as millimeters.
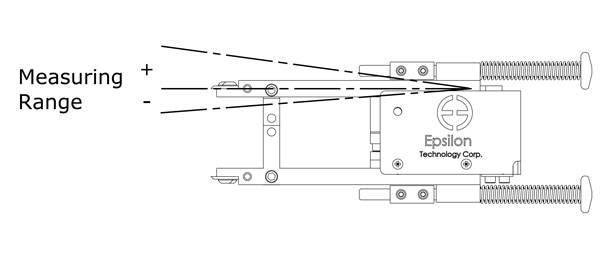
Image Credit: Epsilon Technology Corp.
When determining the measuring range required for your application, estimate the maximum strain or extension values you will need to measure, such as the specimen’s elongation at fracture or the total strain when the extensometer is removed after offset yield. Next, select a measuring range for the extensometer that meets or exceeds those requirements. If you are using a testing standard, also check the standard for extensometer requirements.
How are extensometers interfaced with testing machines?
Most extensometers have either a strain gage bridge or a “high-level” analog output (usually ±10V or 0-10V). Some extensometers use LVDTs, quadrature-output encoders, analog potentiometers, or digital processors that provide measurements as a serial data stream. In any case, the testing machine must have electronics that are suitable for the type of extensometer. For example, electronics for a “strain-gaged extensometer” will need to supply an excitation voltage to the extensometer’s strain gage bridge and will have to amplify its millivolt-level output.
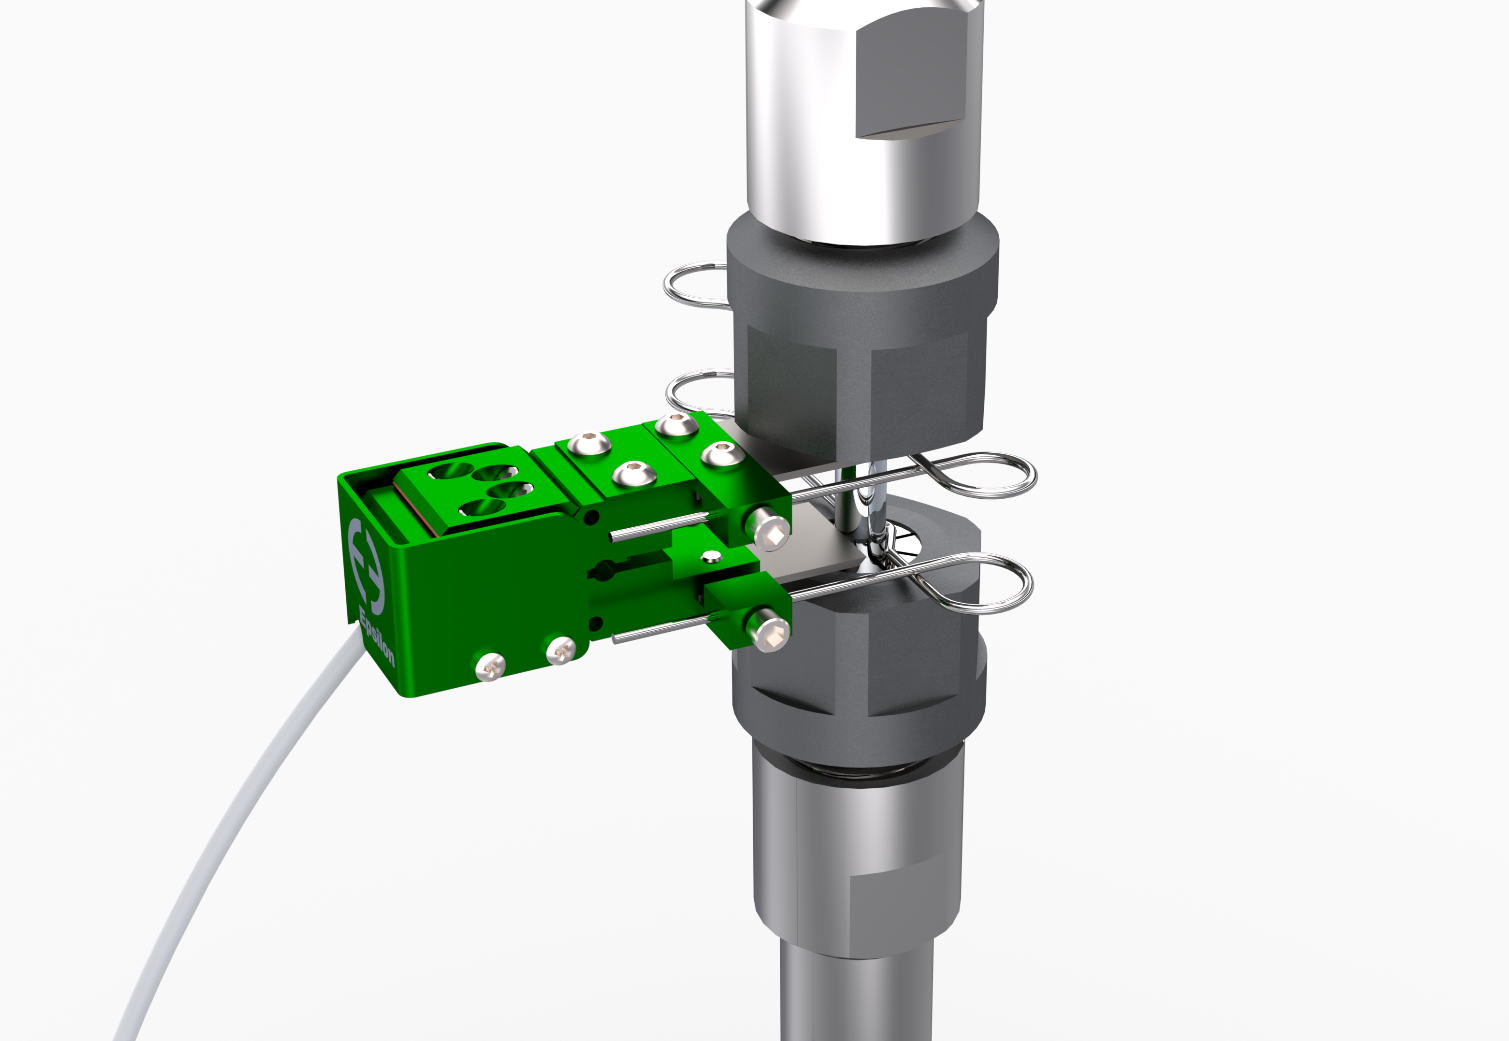
Extensometer With Round Metal Tension Specimen
Image Credit: Epsilon Technology Corp.
Testing machine manufacturers often sell such electronics as an option, so the electronics may have to be added if the testing machine was initially purchased without any extensometers. Sometimes adding the necessary electronics to the testing machine controller is not possible with older testing machines, and external, stand-alone electronics are required.
How to specify an extensometer
First, determine what gauge length and measuring range are required for your applications. Often several gauge lengths are required for testing various specimens, and additional kits to adjust the gauge length or additional extensometers are necessary to meet all requirements.
Additionally, your specimens may require several different measuring ranges and, consequently, several extensometers. In most cases, you will get the best data quality when making critical measurements at strain or displacement values greater than 1% of the extensometer’s measuring range. For example, you may get poor data quality when measuring the 0.2% offset yield of a metal specimen using an extensometer with a measuring range of 100% strain. For that application, it is recommended that you use an extensometer with a measuring range of 50% or 25% instead.
Also, determine the range of specimen temperatures that you will be testing. Does the extensometer need to be used inside an environmental chamber or cryogenic dewar where the extensometer is at the test temperature?
Lastly, make sure that the testing machine’s electronics can work with the type of extensometer you will be using. For example, a strain-gaged extensometer requires electronics for that type of transducer.
Remember to determine how you will calibrate the extensometer and the testing machine in advance, and how you will verify the accuracy of the extensometer measuring system. Planning and budgeting for this final step are crucial.
Summary
Extensometers are essential for materials testing labs measuring fundamental material properties such as elastic modulus, yield strength, and stress-strain curves. To obtain measurements that can be expected to agree with other testing labs, such as between a supplier’s lab and a customer’s, traceable verification is critical. Learn more about extensometers at Epsilon Technology’s Knowledge Center.