Sample preparation involves gaining access to a feature of a sample for subsequent analysis. Doing so allows engineers and scientists to find a solution for damaged parts or better understand materials or processes. AZoM spoke with Dr. Boris Rottwinkel, who explained the advantages of laser micromachining for sample preparation.
Can you explain what sample preparation is?
Sample preparation provides access to a section of interest or prepares samples for diagnosis since some systems require specific shapes to work optimally. Mechanical processes - with saws, knives, etc. - combined with chemical treatment have long been the preferred solution for this task. However, the requirements are changing, and the features that need to be analyzed are getting smaller. Thus, new methods and improved combinations of tools are needed.
For example, in modern semiconductor devices, so-called ICs, manual processes are too "crude," and operators with extensive experience are required to prepare the samples. To reveal hidden features, such as broken junctions within an IC, the surrounding material must be removed. In doing so, the structure under investigation must not be damaged, such as by heat or mechanical impact.
Structures may be located deep inside an object, requiring the removal of centimeters or millimeters of material layers, referred to as the delayering process. However, removing a large amount of material is only one step of the preparation. A controlled stop at the point of interest is necessary to make the best use of the diagnostic tools and obtain as much information as possible.
Do some analytical techniques require special preparation?
Specific shapes such as lamellae for transmission electron microscopy (TEM) or cylinders/cones for micro/nano computed tomography, and atomic probe tomography (APT) also need to be prepared to make the best use of these analytical instruments.
There are many different options for sample preparation which employ physical or chemical methods, sometimes in combination. One option often used to prepare small samples is ion-based systems such as Broad (BIB) or Focused Ion Beams (FIB), usually combined with an imaging unit.
What is the issue with using BIB and FIB for sample preparation?
With some industry-standard FIB systems, processing these samples can take hours, if not days, depending on the area being processed. To reduce time, the preparation process must end as close to the area or point being machined as possible before the final polishing step. It must also be far enough away to not destroy or alter the feature.
With the power of light, these difficulties can be overcome. Currently, this precision is possible with laser-based specimen preparation tools. As a result, ion-based systems require less time to prepare the area of interest. Ultimately, more samples can be prepared using the same instrument, which is important for the industry for several reasons:
- The time required for sample preparation is reduced.
- Correlative approaches allow parallel operation and reduce the need for additional sample handling.
- Systems are used for what they were built for; for example, precision machining rather than large-volume removal.
- Less time allocated to one sample leads to more samples in the same time frame.

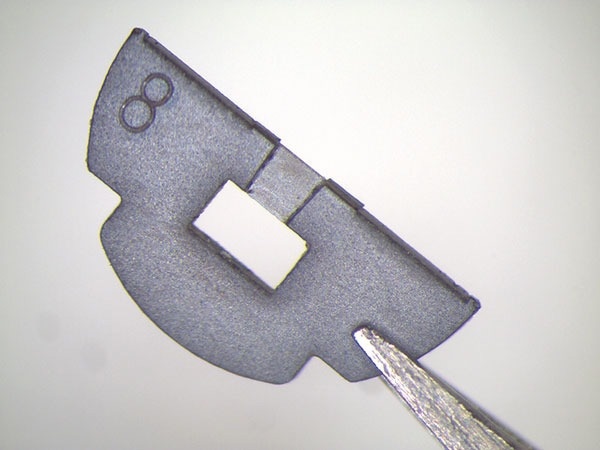
Transfer of a pre-thinned halfgrid structure of a silicon wafer for TEM analysis. Image credit: 3D-Micromac
How has sample preparation changed over the last decade?
The size of the samples has changed. On the one hand, the individual features are decreasing in size, but the overall samples are still large, and users are looking for a way to analyze as much as possible.
Furthermore, analytical techniques are getting faster. This means that more samples can be analyzed in the same amount of time, and thus more samples need to be prepared. This is leading to a more automated and correlative sample preparation process.
With high-speed sampling and analysis, users receive more statistical data and insight into their samples, from cm parts to micron resolution. That is why we developed microPREP™ PRO for laser-based sample preparation as a stand-alone solution that can be combined with the customer's existing equipment.
What are some of the challenges that labs face concerning sample preparation?
They include budget and utilization. Most facilities are equipped with various high-performance instruments to analyze their samples. Ultimately, they are always searching for the root cause of the defect, making analytical equipment a high priority for them.
Regarding sample preparation, most laboratories rely on old techniques that dominate sample preparation. This makes obtaining new equipment challenging.
Do smaller features pose additional challenges?
There is the issue of preparing the sample properly; typically, expensive ion-based systems are used to remove significant amounts of material to access the feature, reducing the time available to analyze the defect. This reduces the time available to analyze the defect. In other words, the tools for analysis are used to remove much material, which wastes more time.
Laboratory management and sample preparation techniques must be changed to address this shortcoming. Sample preparation will be the biggest challenge in the next decade, and we must start now to avoid any negative consequences.
Can you explain why lasers should be used for specimen preparation?
There are two approaches to using the laser tool: the first is to use the prepared surface directly for analysis, but this has the disadvantage of reduced precision since the user will be a few micrometers away from the area or point of interest.
The second option is to combine the laser tool with a FIB system. The laser carries out the rough ablation, and the ion-based system finishes the final polishing and analysis. As mentioned earlier, hundreds of micrometers or even several millimeters of material must be removed in most cases.

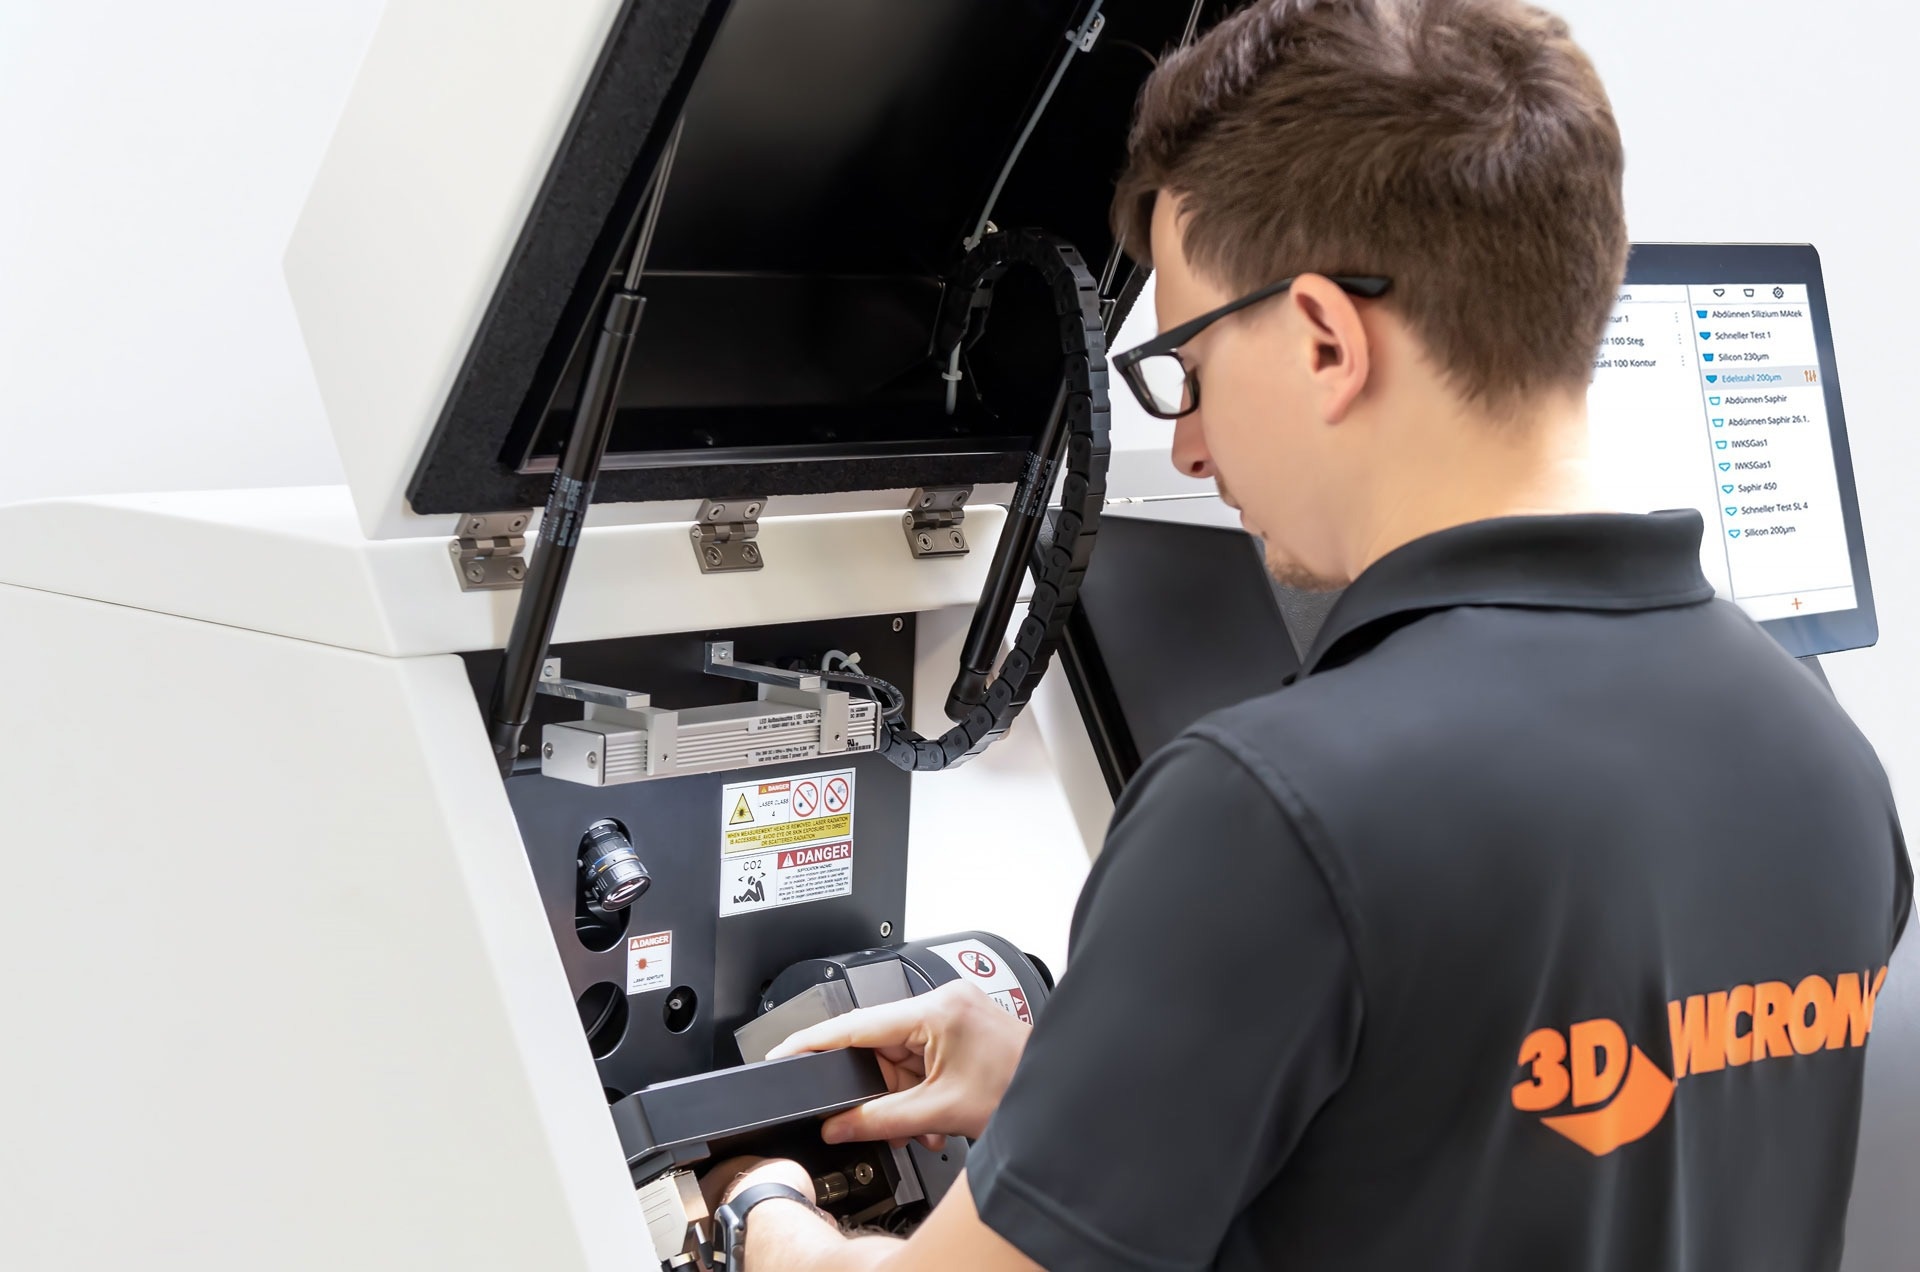
microPREP™ PRO creates new vistas for failure analysis and sample preparation. Image credit: 3D-Micromac
What are the risks of using lasers for sample preparation?
There are always concerns about heat damage when introducing laser tools to the community. Indeed, there can be a significant amount of heat generated when the laser is used for welding and coating. But in these cases, the goal of the process is to melt the surface and join parts or use the tools to machine materials. Conversely, the laser can also be used for very gentle machining and that’s what we are doing in specimen preparation
The laser combines high power for ablation and short pulses for highly localized ablation. We use pico- and femtosecond lasers for our sample preparation tool. With these types of lasers, the damaged zone around the laser spot is only a few tens of nanometers in most cases.
Everyone is looking for a way to reduce the time it takes to prepare a sample and the cost of doing so. Our laser micromachining tools are the best option to help our customers process their samples faster.
What are the advantages and disadvantages of different laser sources in sample preparation?
It depends on the individual requirements. If the same type of sample, and therefore the same material, is constantly being prepared, such as in the case of mass production, a particular laser may be advantageous to increase productivity.
In most cases, there is a variety of samples and, thus, material combinations that require one tool or one laser source that can ablate them all. We use an ultra-short pulse laser system for this task. The short interaction time reduces the heat flow into the material. With a well-chosen wavelength, the ablation rate for most materials is high enough to ablate the material quickly.
The choice of the laser source depends on the application.
If someone wants to use the laser only for sample preparation without additional preparation, a femtosecond laser source is a good solution, with the disadvantage of acceleration of a few microns and a higher price.
How does laser micromachining compare to other, more conventional techniques?
We are discussing micromachining, not millimeter or centimeter machining. The small laser spot is perfect for preparing samples very precisely, but the system is not designed to cut large areas. This is possible, but the time required to prepare the area is high. Micromachining in the world of sample preparation helps to connect the millimeter and nanometer worlds.
Fast conventional methods such as sawing, cutting, grinding, milling, turning, etc., allow rapid sample fabrication, but in most cases, these techniques lack precision. The ablation rate is much higher when comparing laser systems to ion-based systems such as FIBs, but the accuracy is lower.
The use of lasers also reduces the risk of contamination since a laser is effectively just light, with no water, special chemicals, or other supporting liquids or gases required for preparation. Additionally, there is no evidence of mechanical damage, making the laser tools uniquely applicable to some applications as they provide the only way to prepare the sample without causing new defects.
How do laser sources and micromachining systems with multiple axes successfully work together?
Laser sources and micromachining systems with multiple axes successfully work together using software and workflows. The user must ensure that they have a software and motion control system that can work together to achieve throughput and quality. Integrating the components into the tool is one thing, but the interaction between each component to achieve the correct accuracy, throughput and quality should not be ignored.
Ultimately, users can install multiple axes and build perfect workflows, but unless the operator knows how to operate the tool, even the best system is useless.

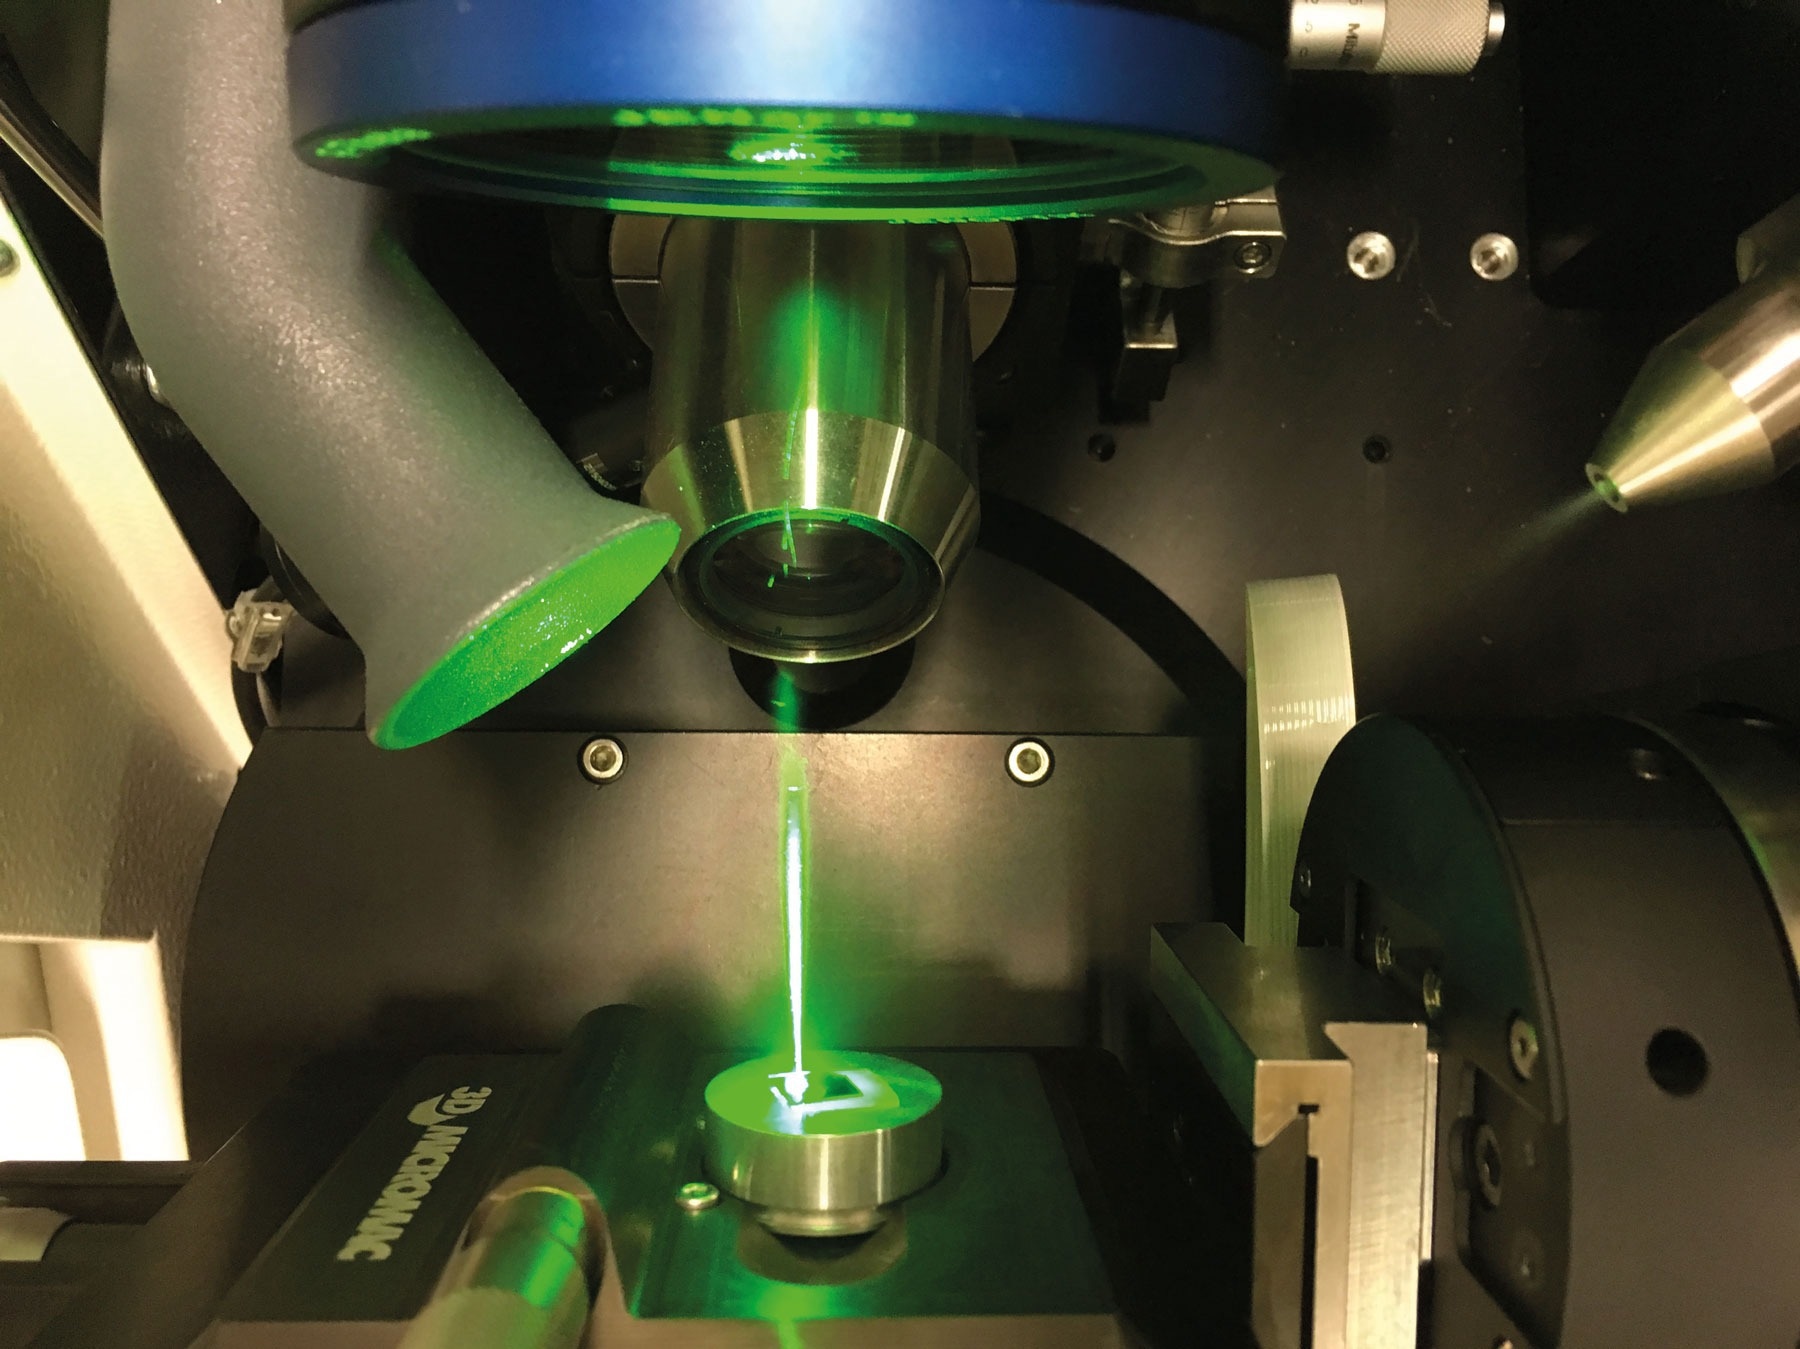
Preparing samples for analysis by cutting contours. Image credit: 3D-Micromac
How does 3D-Micromac help users overcome the challenges associated with conventional sample preparation techniques?
3D-Micromac helps users to overcome the challenges associated with conventional sample preparation techniques by offering the market a means to save time and resources. The biggest challenge we hear from potential customers is that conventional techniques, such as FIB, take too long to process a sample and become a bottleneck in their production line or research.
Conventional techniques, such as saws, mills, and ion-based systems, are also limited when it comes to mechanically processing samples because of extended processing time. 3D-Micromac has unique tools that help users reduce the time needed to prepare samples for analysis.
With our microPREP™ PRO, we are working with our customers to prepare samples in a new way, allowing them to do even more. Larger sections with higher precision can be prepared, increasing the number of analyzed samples. As a specialist in laser micromachining, we can be flexible and accommodate new requirements, just as our users have to be able to do in their daily work.
How does 3D-Micromac make specimen preparation with laser micromachining user-friendly?
There are several ways to control a micromachining tool, such as entering code into the system or using predefined workflows that support daily work. A flexible tool can aid complex tasks, but the operator has to spend significant time learning and operating the tool.
Adding an intuitive software interface with preloaded configurations for standard workflows allows the operator to focus on the task at hand. In our microPREP™ PRO system, these preloaded configurations include applications for atom probes, lamella preparation, box milling, and delay ringing, to name a few.
How does 3D-Micromac AG meet international standards while remaining innovative?
As an industry leader in laser micromachining, we produce machines that are individually adapted to the customer’s needs and local standards. However, the microPREP™ PRO sample preparation system is highly standardized and can be equipped with different modules according to the customer’s needs.
We keep up to date on the international standards for each country, especially for the target regions. Knowing the standards allows us to work within the confines of each country's requirements and deliver something that is both innovative and forward-thinking while meeting UL or SEMI standards for safety and usability.
How does 3D-Micromac AG stay on top of current research, and what benefits does this confer to the end user?
In the field of sample preparation, knowledge is essential. We work with Fraunhofer IMWS and other research partners to break down complex projects into individual steps and show the user how best to perform the preparation.
In most cases, a complex project is not that complex; it just needs to be broken down into individual parts to be solved sequentially. Knowing this and having the network to find the solution is our key to success.
How are your client’s needs developing, and how will you continue to meet them?
3D-Micromac has created an infrastructure that allows us to work closely with key customers and prospects to understand evolving market trends, advance their technology, and keep pace with their key target markets.
The challenge we face is to provide the market with standard products that can be used by many customers within the same market segment or industry. 3D-Micromac has developed a range of standard products designed and optimized for specific applications without losing sight of its core business: advanced laser micromachining.

About Boris Rottwinkel
Dr.-Ing. Boris Arnold Rottwinkel joined 3D-Micromac in 2018 as sales and product manager for microPREP™ PRO. Now, he is the product manager for microdiagnostics.
He began his engineering career at Friedrich-Alexander-University Erlangen-Nuremberg in Material Science and Engineering and acquired his diploma degree in 2010. From the University of Technology Clausthal-Zellerfeld he received his Ph.D. (Dr.-Ing.) in Mechanical Engineering.
In his career, he has presented numerous papers on laser-based processes.
He is an active member of IEEE, ASM, EMAS, MSA, and DGM.

This information has been sourced, reviewed and adapted from materials provided by 3D-Micromac AG .
For more information on this source, please visit 3D-Micromac AG .
Disclaimer: The views expressed here are those of the interviewee and do not necessarily represent the views of AZoM.com Limited (T/A) AZoNetwork, the owner and operator of this website. This disclaimer forms part of the Terms and Conditions of use of this website.