In this interview, AZoM speaks with Clemex about hardness testing, the different types, and its various applications.
What is hardness testing?
Fundamentally, hardness testing determines the resistance a material exhibits in response to the permanent deformation of another material’s penetration. If I take a piece of metal and rub something else against it, I would analyze how well the initial metal resists any deformation.
What are the typical or the most common applications for hardness testing?
Primarily the focus is on metals fabrication, pre and post-fabrication, as well as ceramics and composite materials. Hardness testing is always measured on anything subjected to heating, heat treatment, or materials bent or shaped into a product. It is an essential part of the manufacturing process.
What is a load cell and how do they work?
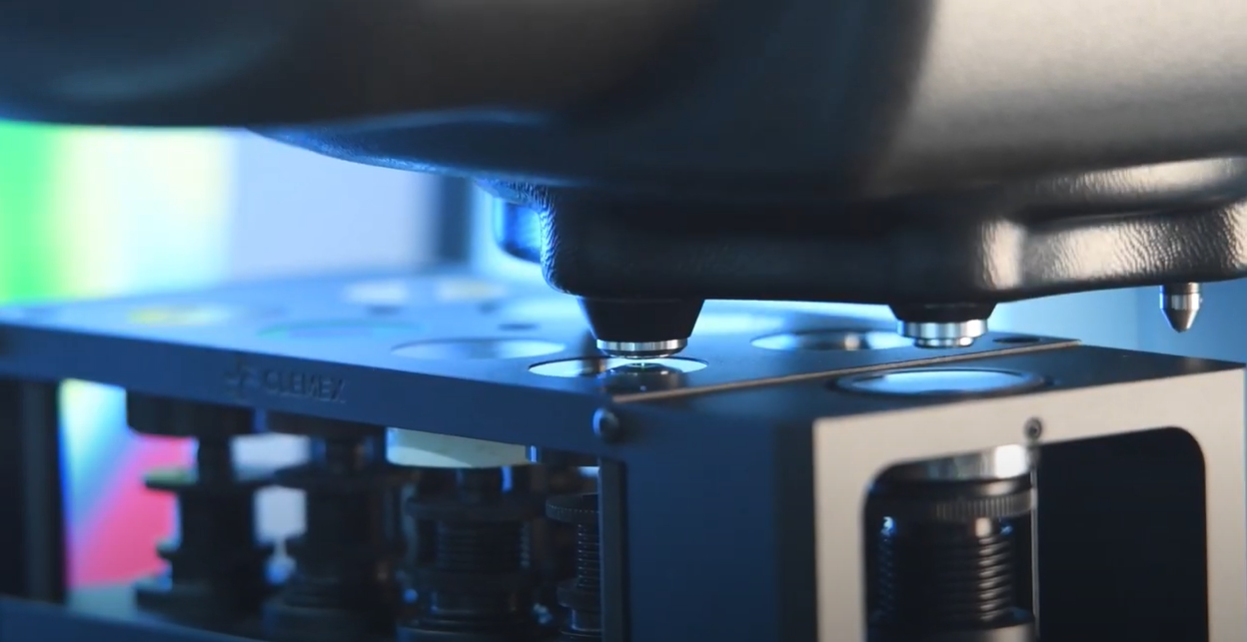
A load cell is a device that converts kinetic energy force into a measurable electrical signal. The advantage is that electrical signals are measurable and more accurate. We take a material, apply a force onto it, and it generates a small electrical signal which we then calibrate to the amplitude of the electrical signal to give us an idea of what sort of force we are applying. We sample this about a thousand times per second.
What kind of assemblies and applications would require a load cell in the testing setup?
A load cell is required in metal industry products, and where more accuracy is needed as opposed to a dead load system.
A dead load system is a series of plates with a specific weight placed on top of each other. These plates are introduced into the system to provide a certain force, but when that force is applied, it over-applies; for every action, there is an equal opposite reaction. The user applies what we call a little overshoot, and then it settles.
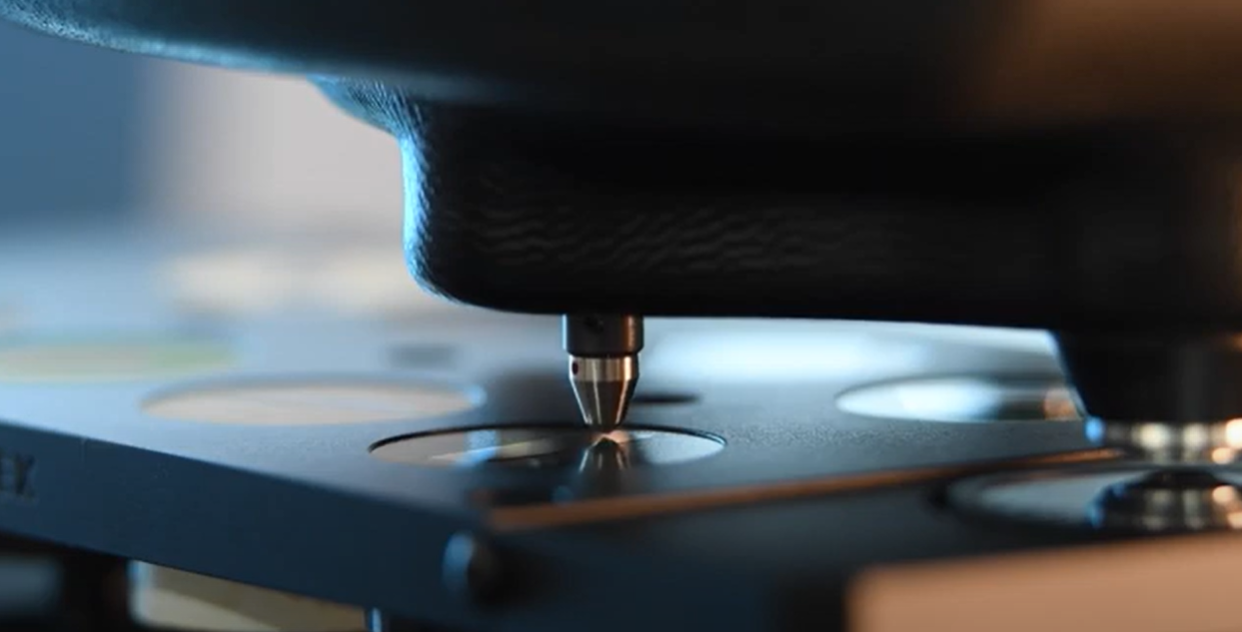
Load cells eliminate overshooting, providing a gentle approach, where the penetrator is placed onto the sample, held until it stabilizes, and then the force is increased so there is no overshooting of additional forces.

Image credit: Clemex
What customers, industries, and specific applications can make best use of load cells?
The heat treating industry is one of the largest industries using load cells. This industry alters the structure of metal, including ferrous and non-ferrous metals, as well as anything being heated, quenched, etc. This alters the microstructure of the materials, which simultaneously changes the hardness, tension, and other key properties.
Load cells are also used in the steel industry, where targeted specifications are known. It is also worth mentioning fabricators and industries where metal is bent or shaped and metal hardness is tested.
Can you talk us through the development process and the decisions that have led Clemex to produce this new offering?
The company was established around 32 years ago, and its product portfolio has always had a microhardness testing system. However, a dead load system was used for a long time, as this was the only type of testing approved by the American Standard Testing Methods (ASTM).
Around 10 years ago, ASTM began looking at some of these newer solutions, primarily load cell technologies. The main advantage is that you can program various experimental loads that can be used, and accuracy was the main driving force behind it. Now that it is an approved methodology within the ASTM or universal testing committees, Clemex is now selling load cell equipment.
What do you think your load cell solution brings to the market over what people might have tried already?
Load cell solutions bring ease of use and accuracy to the market. Clemex is sourcing the technology from a European manufacturer that has been in this business for over 65 years, and they have perfected this particular type of load cell.
The monitoring and sampling of the forces occur at 1000 times per second to deliver constant load values. This is the most significant and unparalleled advantage of this particular load cell technology.
This offers users a range of flexibility, from single to multiple samples, speed, accuracy, and the consultation that comes with the product from our growing expertise.
Can you explain what microhardness testing is as opposed to bulk harness testing?
There are four types of hardness testing in the market, Rockwell, Knoop, Vickers, and Brinell; these are the four scales we are working with.
Usually, Rockwell and Brinell are usually large, massive loads based on the penetration depth; a load is placed at zero point, and then the depth that this particular indenture will penetrate into the material is measured.
Microhardness testing is a little different. First, micro refers to looking at very small grains within the materials. We are not just testing the bulk metal, but we could be testing a crystal within that grain structure.
For example, if we measure a divot in both X and Y directions, and take an average, the formula is that the material and the indentation are inversely proportional to the displacement of the material.
If I have a larger impression, I have a soft material. If I have a smaller impression, I have a harder material. There are two main scales, Vickers and Knoop. Vickers is a symmetrical diamond shape, whereas Knoop is an elongated diamond.
Can you see a paradigm shift in how much testing people can get done because of the product’s ease of use?
Absolutely. One of the biggest advantages is that you do not require a highly qualified user to run the software. It is extremely simple and user-friendly software. At the same time, we also have a greater throughput.
With some of the potential configurations of the microhardness testers, we can place up to 10 samples in them and set up what we call a traverse, a direction of how many indentations and how far apart we want them.
We can run that 10 times, place it on the auto-indexing table, and walk away. That means the operator can leave the hardness test unattended for three to four hours, and once the operator returns, they review the results.

Image credit: Clemex
Do you think there is any new application potential, or are there potential areas where people might start applying more rigorous testing that they were not able to get through before because of the difficulty or lack of throughput?
This depends on the end-user specifications, as we are finding more quality control in various industries, particularly automotive ones. Auto manufacturers now request more quality from their original parts suppliers, meaning they have to do more testing. Naturally, this means that the volumes will be increasing.
What is your vision for the future of the product? Are there any other developments that you would be looking at as things continue to change?
While these load cells are extremely accurate right now for what we require at the micro level, as we move forward, more high-tech materials are emerging and hitting the market.
In the future, we will need to go even lower and be more precise with the loads than we currently can. We are talking about nanotechnologies and nano loads. Having an exceptionally accurate load cell will lead us into that next area.
What kind of high-value applications and areas will you see requiring such improvements?
The automotive, electronic semiconductor, and pharmaceutical industries, where they are measuring tablet hardness. The applications will eventually go way beyond the metals industry.
What other challenges could come from adapting what is essentially developed as metals testing technology for softer materials?
Essentially, it is getting the industry to adapt and adopt. We have to prove to the industry that the results are just as good, if not better, than what they were used to, and get them to buy in and accept this technology.
We get to experience how a large number of manufacturers think and work. We visit different kinds of manufacturing plants, from steel to automotive, to baby formula, across various industries.
What kind of feedback have you received from customers so far?
Customers are very excited that we are advancing in this area and are looking forward to trying some of our instruments. We are looking forward to demonstrating them in the short term.
Clemex recently received excellent feedback at a metals show in Pittsburgh.
About Clemex

Clemex provides manufacturers and researchers with image analysis software and hardware to make quantification of microstructures less demanding and more effective. They specialize in automating measurement of objects in digital images from microscopes and other precision optical devices.
Clemex's strength lies in their ability to achieve a thorough understanding of their clients’ specific applications, leading to a high satisfaction rate among Clemex customers. Major quality control and research labs all over the world use our image analysis solutions to extract meaningful size, shape and volume measurements in applications as varied as particle shape analysis, heat-affected zone (HAZ) measurements in welds, fiber length and morphology, automated microhardness testing, and automated inclusion rating in steel.
This information has been sourced, reviewed and adapted from materials provided by Clemex Technologies.
For more information on this source, please visit Clemex Technologies.
Disclaimer: The views expressed here are those of the interviewee and do not necessarily represent the views of AZoM.com Limited (T/A) AZoNetwork, the owner and operator of this website. This disclaimer forms part of the Terms and Conditions of use of this website.