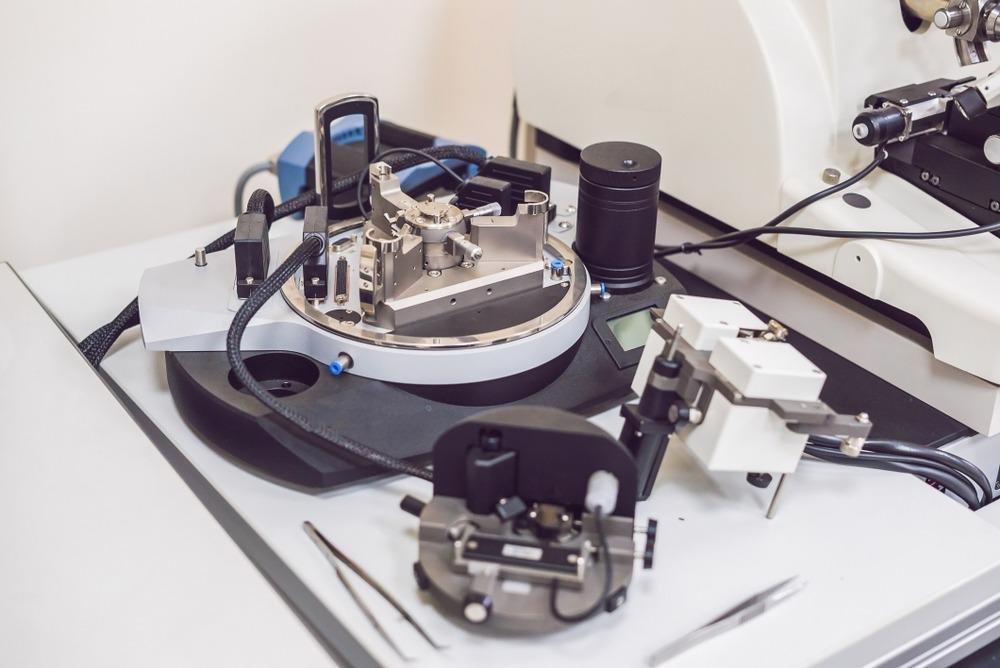
This article explores asperity, techniques to measure asperities, and discusses the prediction of wear of multi-asperity interfaces using atomic force microscopes (AFMs).

Image Credit: Elizaveta Galitckaia/Shutterstock.com
Background
In natural and artificial mechanisms several inevitable factors adversely affect their performance and durability. From the mechanical point of view, vibration and wear between two moving parts are practically unavoidable. About 23% of the world’s total energy consumption is associated with tribological interaction between surfaces of mechanical components.
Out of that, 20% is used to overcome frictional losses, and 3% is used to remanufacture and replace worn parts. Therefore, accurate measurement and prediction of wear occurring at machine interfaces are very important when the capital cost and losses due to time and cost required to replace worn mechanical components are too high.
What is Asperity?
Asperity means surface roughness or bumps on a solid surface. They are the primary cause of wear between two solid surfaces with relative motion. As we know, wear means the unwanted and uncontrolled removal of material from a solid surface due to the exertion of mechanical forces by another solid. Asperities are a major factor in the wear mechanism as the collision between them generates enough friction and heat, and in many cases, material losses happen due to adhesion and chipping away of material from a surface.
The four basic types of wearing modes are abrasive, adhesive, fatigue, and corrosive. In abrasive mode, asperities exert normal compressive forces on the surfaces of each other. When the normal stress exceeds the ultimate strength of one asperity, fracture occurs. Even if the normal stress is less than the ultimate strength, repeated cycles result in fatigue, fracture, and wear.
Adhesive wear is accompanied by friction and heat generated due to shear stresses between relatively smoother asperities. Asperities on surfaces with less specific heat capacity melt and stick to the other surface. Moreover, adhesive wear is accompanied by tensile forces. The lesser the tensile strength, the higher the adhesive wear. Meanwhile, the corrosive mode of mechanical wear occurs indirectly. Many metals form a protective oxide layer due to corrosion. Mechanical forces remove these layers and onset a new phase of corrosion.
Instruments to Measure Heights of Asperities
Traditional instruments used for measuring the average height of asperities and wear volumes are called tribometers. Some commonly used tribometers are pin on disc, ball on disc, four balls, ring on ring, ball on three plates, reciprocating pin, bouncing ball, ball on ring, twin disc, and fretting test machine. They are named according to the nature of the surface to be measured and the type of contact arrangement with the surface. However, conventional tribometers require excessively prolonged experimental and measurement phases to form a complete wear map.
More from AZoM: Producing Polymer Composites with High Thermal Conductivity
Currently, AFMs are the most widely used instruments to map multi-asperity surfaces with precision up to the nanometer scale. It consists of a doped boron cantilever with a length of a few micrometers and a single crystal diamond tip at the bottom of its free end. The tip can oscillate up and down using a laser beam falling on the top of the cantilever and just above the diamond tip.
Afterward, the laser beam reflects towards a photodiode. Any change in the position of the tip can be measured by the change in the path of the laser beam recorded by the photodiode. Thus, AFM can measure the average height, i.e. the root-mean-square height (hRMS), of asperities very accurately.
Nevertheless, there have been various attempts made to design a proper model to precisely calculate the wear volumes from hRMS values of multiple asperities present on a surface. These models usually incorporate two rounds of asperity mapping, one before the wear and another after the wear. The subsequent step is to properly align both before and after wear maps of the same surface.
In a recent study, Leriche et al. used a six-degrees-of-freedom approach on a 3 mm diameter silicon nitride ball (Si3N4) to find the exact match of the same surface before and after wear. Once the two mappings are obtained, the difference between them can be used to accurately measure the wear volume. Notably, Leriche et al. achieved accuracy up to 3.09 x 10⁻¹⁵ mm3 while measuring the wear volume.
Factors Affecting AFM-Based Measurement of Asperities
At the nanometer level, humidity plays a significant role in bridging the gaps between asperities and increasing the coefficient of friction. When humidity exceeds 65%, meniscus bridges significantly affect the adhesive forces and hinder the precision of the AFM. Additionally, the nonuniform stiffness of the surface, spatial drifting of the diamond tip, and thermal and vibrational system stability also affect the accuracy of measurement.
Conclusions
The measurement and prediction of wear are crucial for costly mechanical components. AFM with several purposed models has enabled precise measurement of nanometer-level asperities and corresponding wear volumes. Nevertheless, there is a requirement for a new, easier, and automatic method for precise alignment of maps of the same surface before and after wear, which can maintain its accuracy in measuring larger wear volumes.
References and Further Reading
Holmberg, K., Erdemir, A. Influence of tribology on global energy consumption, costs and emissions. Friction 5, 263–284 (2017). https://link.springer.com/article/10.1007/s40544-017-0183-5
Leriche, C., Franklin, S., Weber, B., Measuring multi-asperity wear with nanoscale precision, Wear, 2022, 204284, https://www.sciencedirect.com/science/article/pii/S0043164822000503?via%3Dihub
Walker, J., Umer, J., Mohammadpour, M., Theodossiades, S., Bewsher, S., Offner, G., Bansal, H., Leighton, M., Braunstingl, M., Flesch, H., Asperity level characterization of abrasive wear using atomic force microscopy. Proceedings of the Royal Society A, 2021, 477: 20210103. https://royalsocietypublishing.org/doi/10.1098/rspa.2021.0103
Disclaimer: The views expressed here are those of the author expressed in their private capacity and do not necessarily represent the views of AZoM.com Limited T/A AZoNetwork the owner and operator of this website. This disclaimer forms part of the Terms and conditions of use of this website.