Image Credit: North Carolina State University
A metal machine component must be accurately measured and further refined after printing to ensure it meets all required tolerances. In other words, the part must be precisely the correct size in every dimension. This process involves removing the component from the production machinery, measuring it for exact dimensions, and then reassembling it, making any necessary adjustments along the way.
McConnell said, “This may need to be done repeatedly and can take a significant amount of time, our work here expedites that process.”
The researchers have developed a largely automated system that manufactures metal machine components meeting required tolerances by integrating 3D printing, automated machining, laser scanning, and touch-sensitive measurement technologies with relevant software.
How Does it Work?
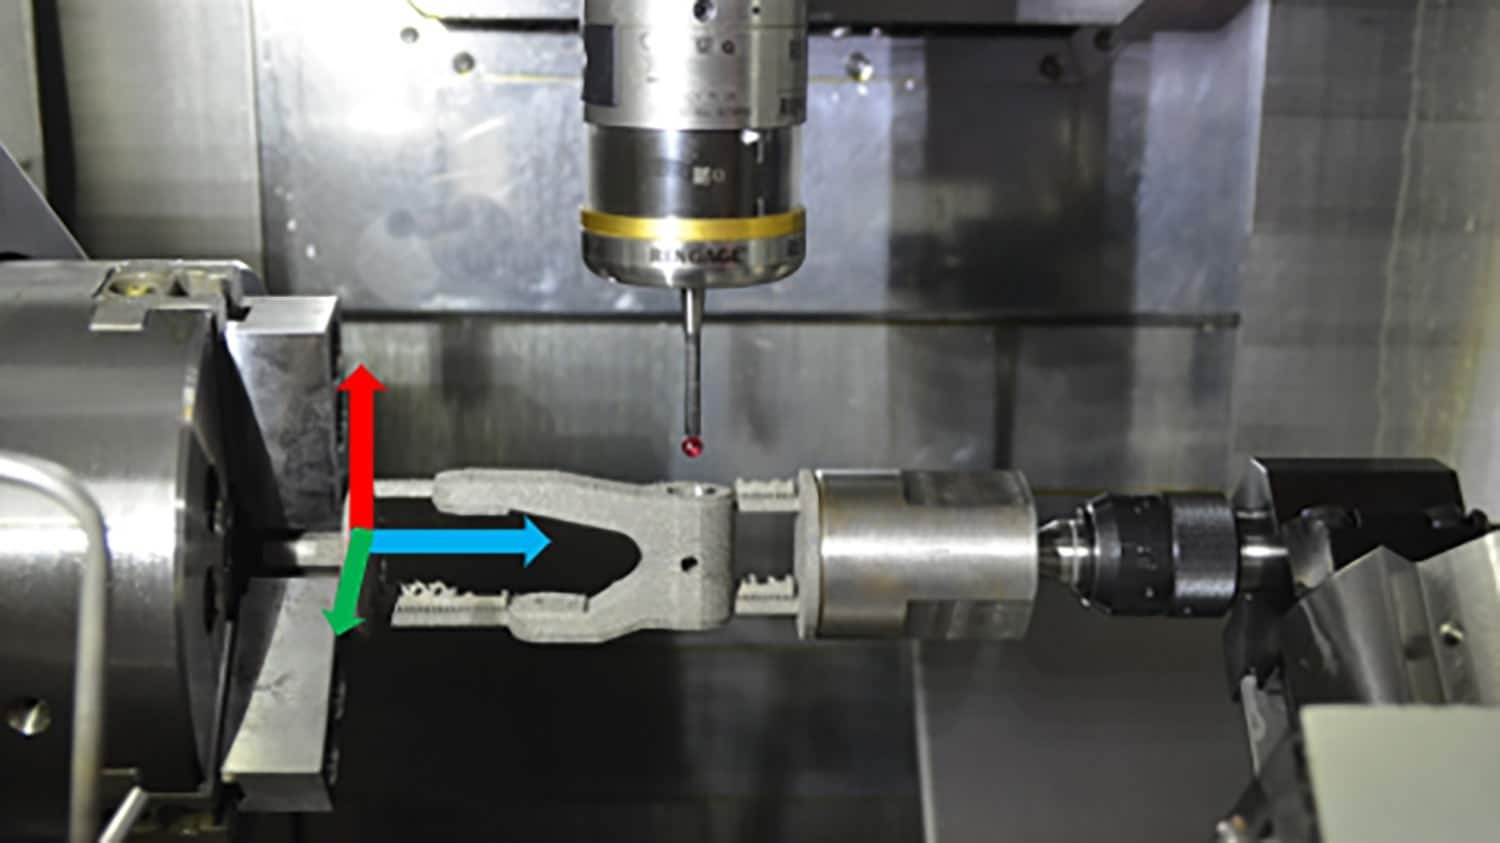
When end users require a specific part, they access a software file that contains the measurements for the part. This file is used by a 3D printer to produce the part, including its metal support structures. After printing, the users mount the part onto a finishing device using the metal supports.
At this stage, lasers scan the mounted part to determine its dimensions. Based on these measurements and the required tolerances, a software program directs the finishing device to smooth out any irregularities. Throughout this process, the finishing device adjusts the orientation of the part to allow a touch-sensitive robotic probe to verify that the part's dimensions are within the necessary specifications.
To evaluate the effectiveness of the novel strategy, the researchers first produced a machine part utilizing traditional 3D printing and finishing methods, and then they produced the same part utilizing their newly developed method.
We were able to finish the part in 200 minutes using conventional techniques; we were able to finish the same part in 133 minutes using our new technique, depending on the situation, saving 67 minutes could be incredibly important. Time is money in most professional settings. And in emergency response contexts, for example, it could be the difference between life and death.
Brandon McConnell, Assistant Research Professor and Study Co-Corresponding Author, Edward P. Fitts Department of Industrial and Systems Engineering, North Carolina State University
The researchers highlight that their current work primarily concentrates on printing and finishing machine parts that feature circular or cylindrical shapes, such as pistons. However, they note that this approach could be adapted to accommodate machine parts with different geometrical features.
All of the hardware we used in this technique is commercially available, and we outline the necessary software clearly in the paper – so we feel that this new approach could be adopted and put into use almost immediately, and we are certainly open to working with partners who are interested in making use of this technique in their operations.
Brandon McConnell, Assistant Research Professor and Study Co-Corresponding Author, Edward P. Fitts Department of Industrial and Systems Engineering, North Carolina State University
The paper's first author, Christopher Kelly, is a former graduate student at NC State who currently works at Celonis, Inc. Co-authors include Richard Wysk, professor emeritus in the Fitts Department of Industrial and Systems Engineering; Ola Harrysson, Edward P. Fitts Distinguished Professor in the same department; and Russell King, the Henry L. Foscue Distinguished Professor of Industrial and Systems Engineering at NC State.
The research was funded by the US Army Research Office.
Journal Reference:
Kelly, C. J., et al. (2024) Automatic feature-based inspection and qualification for additively manufactured parts with critical tolerances. International Journal of Manufacturing Technology and Management. doi.org/10.1504/ijmtm.2024.138337
Source: https://www.ncsu.edu/