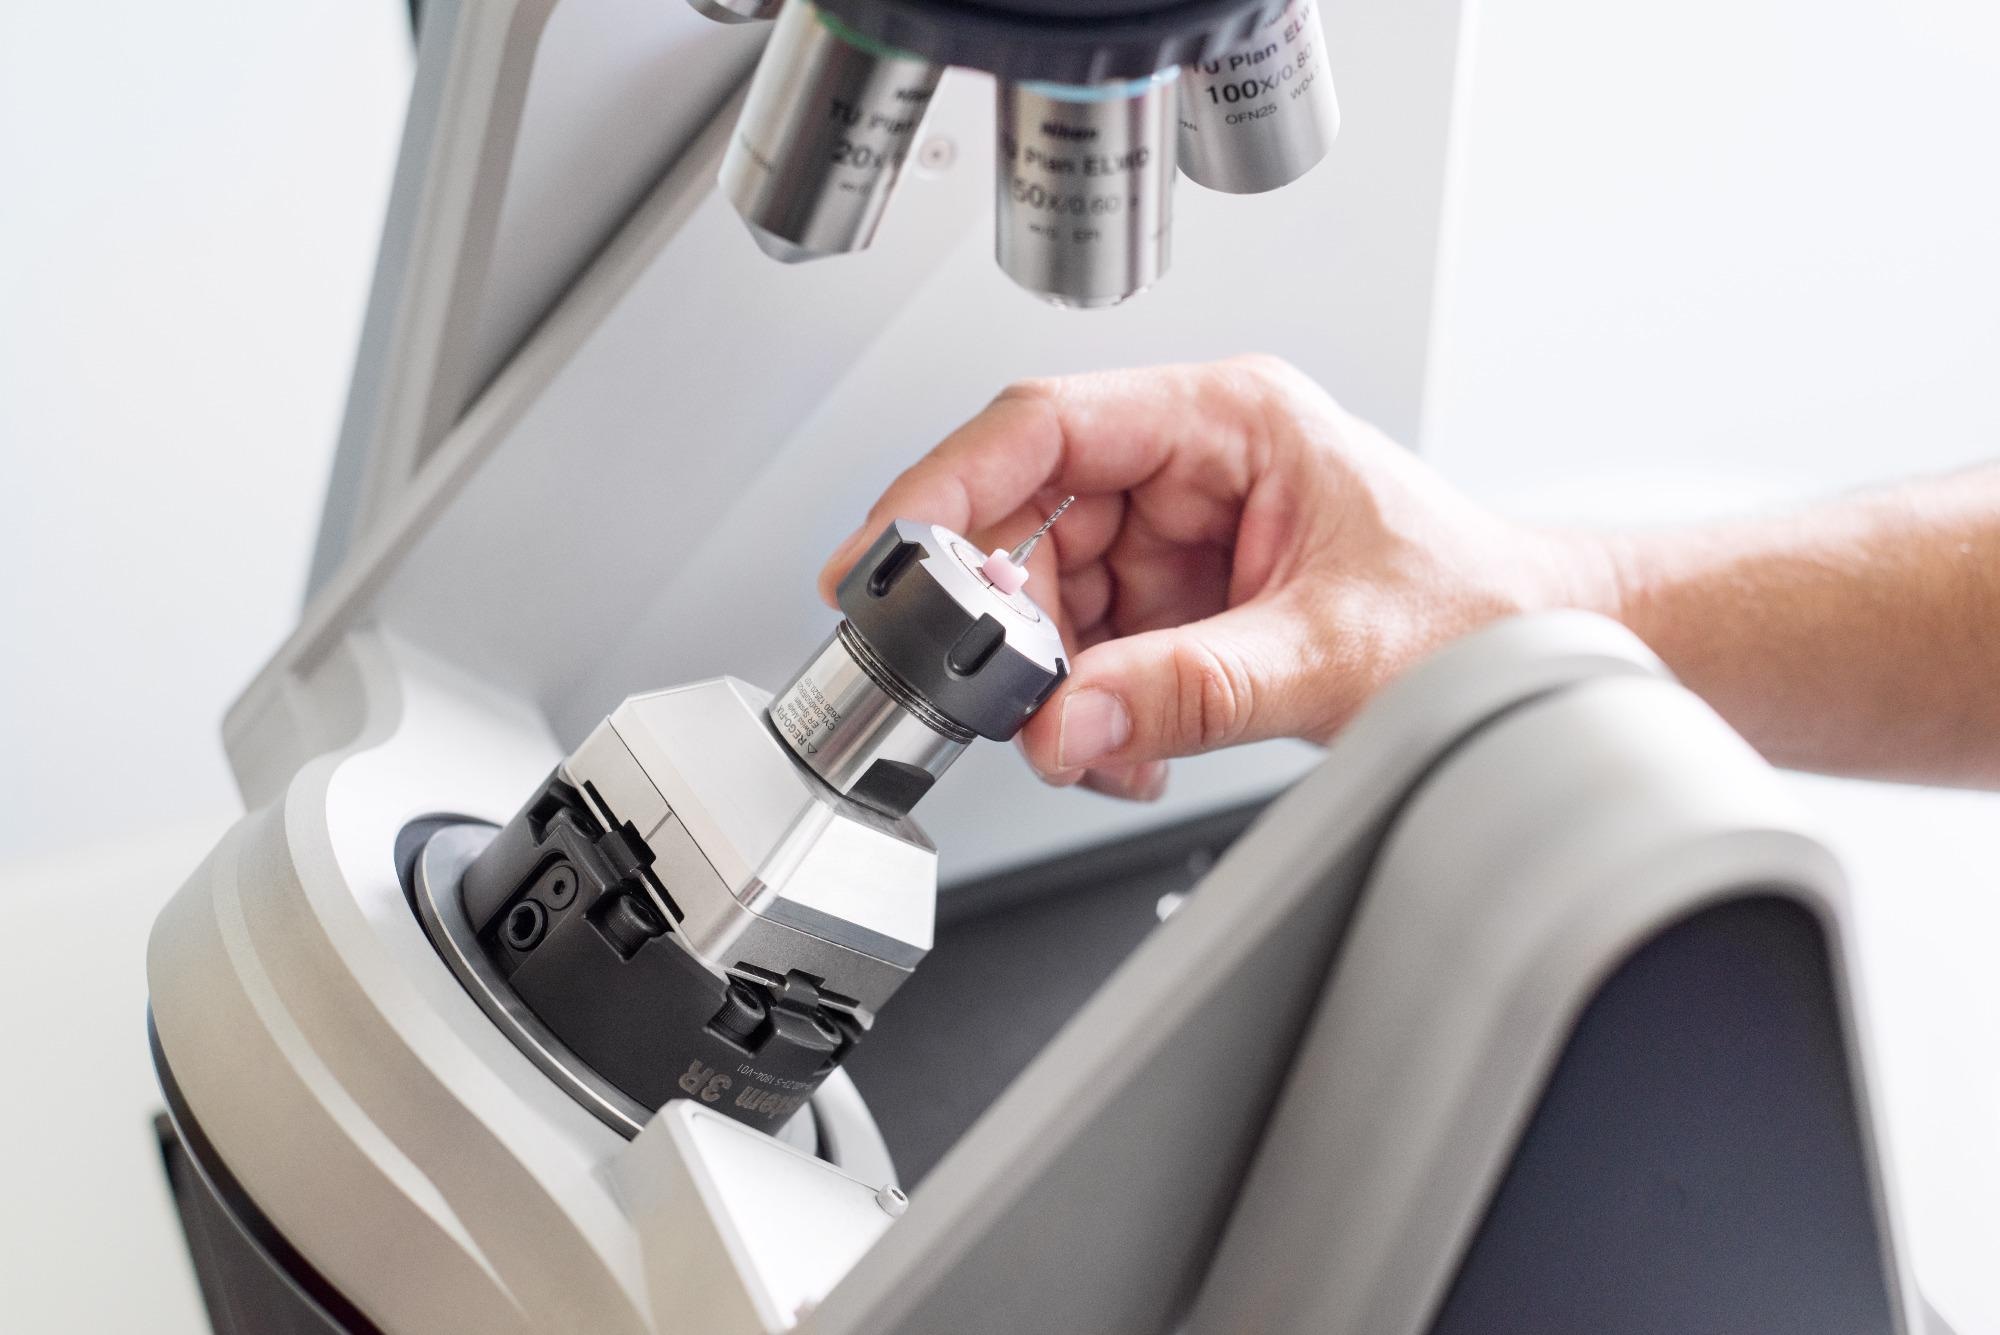
Sensofar’s S neox Five Axis 3D optical profiler integrates a high-accuracy rotational system with the cutting-edge inspection and analysis features of the S neox 3D optical profiler. This allows automatic 3D surface measurements at specific positions, which can be integrated to produce a comprehensive 3D volumetric measurement.
The S neox 3D measurement technologies encompass a broad variety of scales, including sub-nanometric roughness (interferometry), form (focus variation), or crucial dimensions that necessitate high lateral resolution as well as vertical resolution (confocal).
Rotational Stage
The Five Axis rotational stage has a high-precision motorized rotating A axis with 360° endless rotation, a motorized B axis, −30° to 110°, 1 arc second positioning repeatability, and 1 arc minute positioning repeatability, with limit switch. It is fitted with a System3R clamping system.
Markets and Applications
- Gears
- Aerospace and automotive
- Medical devices
- Forensics
- Watch manufacturing
- Micro-manufacturing
- Sharp objects
- Tooling industry
- Surface finish
The S neox Five Axis enables automatic 3D surface measurements to be taken at specific positions and integrated to develop a comprehensive 3D volumetric measurement.

A Comprehensive 3D Measurement
The S neox Five Axis can measure the sample at various positions of rotation and elevation (perspectives), producing a series of individual measurements. The SensoFIVE software combines all of the surfaces, delivering a sample surface with high precision by utilizing the stacked image information of all the single surface measurements. The system can combine various elevations and generate shape and form information on sharp edges and/or crucial surfaces.
Connecting Neighboring Surfaces to Measure Angles >90°
The measurement of complex surfaces that have steep angles is quite challenging because of the shadowing effects that stop users from getting a full measurement within a single acquisition. It is essential to tilt the sample to measure it from two varied positions and integrate the two topography results to get the full measurement. The Five Axis rotational stage facilitates placement of the sample in opposite directions to render the whole surface visible. The system obtains the individual measurements and subsequently combines them automatically to acquire the full 3D volumetric measurement.
Multiple Axis Positions, Measurements Without Restriction
Thanks to the automation routines, various sample parts can be measured with a single click. An easy-to-use interface enables users to find the measurement position without any difficulties. Then, the users can concentrate on the important parts of their sample and incorporate them into the automation routine. Lastly, by clicking on “Acquire,” all parts can be measured with a single click. This is a very fast and easy method to automate the measurement schedules.