The S wide from Sensofar is a steadfast system that has been specifically developed to quickly quantify big sample areas ranging up to 300 × 300 mm. It offers all the advantages of a digital microscope combined into a high-resolution measuring instrument. It is extremely user-friendly with just a single-button acquisition.
The most suitable system for measuring big samples
- We offer xy stages up to 300 x 300mm
- Very fast measurement: it takes 1s to measure a FOV of 34.7 x 29.1mm
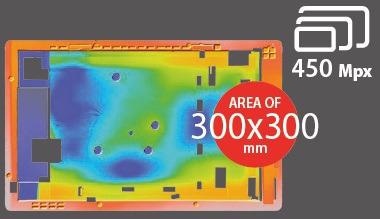
Image Credit: Sensofar Metrology
Accurate 3D topographies plus color information
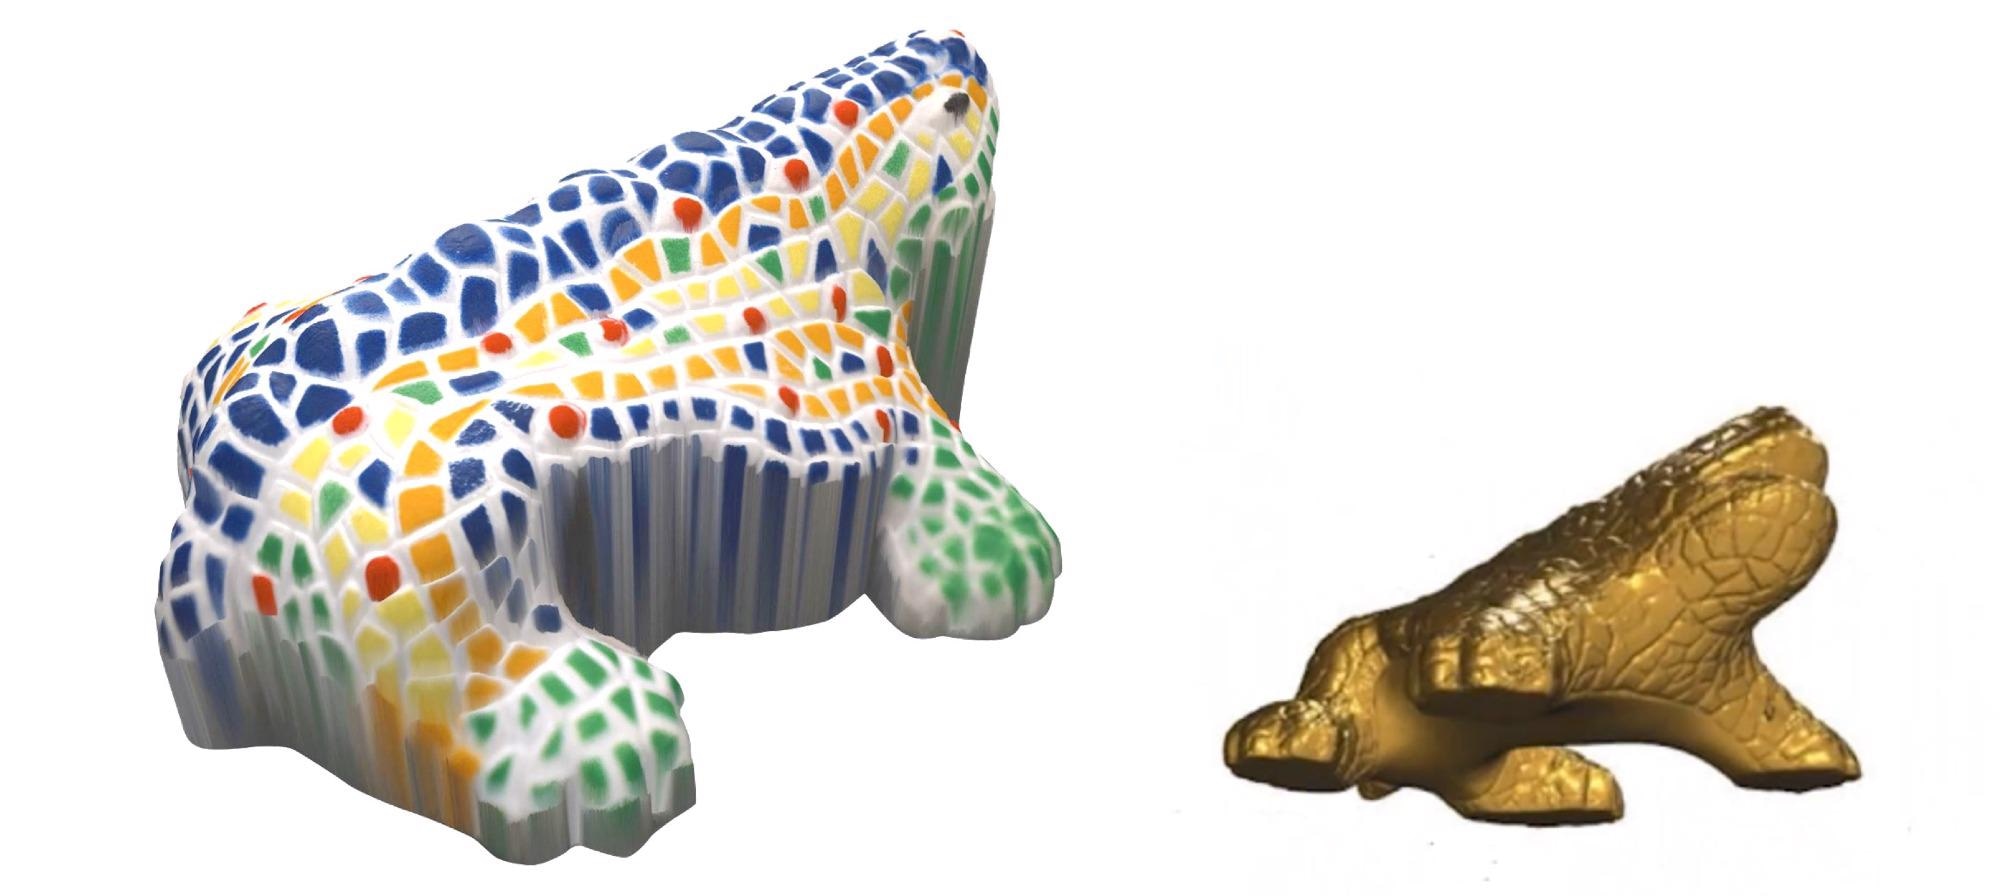
Image Credit: Sensofar Metrology
Sub-Micron Height Repeatability Over the Entire Extended Area

Image Credit: Sensofar Metrology
Traceability
Every S wide has been produced to offer precise and traceable measurements. Systems are calibrated with the help of traceable standards as per ISO 25178 and VDI 2634-2.
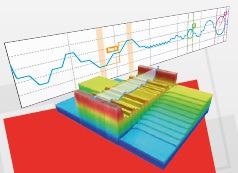
Image Credit: Sensofar Metrology
One-Shot Height Measurement Up To 40 mm Without Z Scanning
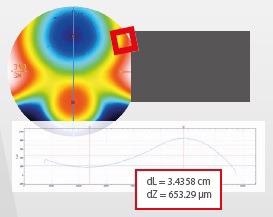
Image Credit: Sensofar Metrology
Wide Areas
Form Deviation From 3D CAD Models
Offers geometric difference and tolerance measurement.
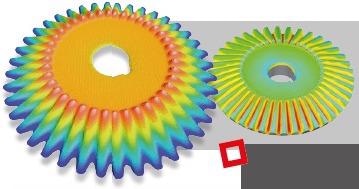
Image Credit: Sensofar Metrology
Solutions
- Advanced manufacturing is possible
- Consumer electronics
- Archaeology and paleontology
- Optics
- Watch industry
- Medical devices
- Molding
Bi-telecentric lenses are available with very low field distortion offering precise metrology.
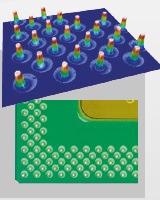
Image Credit: Sensofar Metrology
Software
SensoSCAN
The software drives the system with its clear, intuitive and easy-to-face interface. The operator is guided via the 3D environment, thereby providing a unique user experience.
Different measuring algorithms to adapt to the sample needs
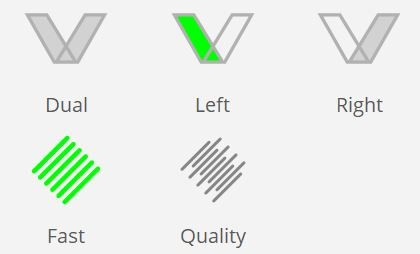
Image Credit: Sensofar Metrology
Automated Procedures Module
Automated measurements are achieved with the help of the Recipes tool, which is a personalized way to make quality control procedures. It is very simple to specify procedures for automating measurements with automatic fiducial recognition and sample identification.
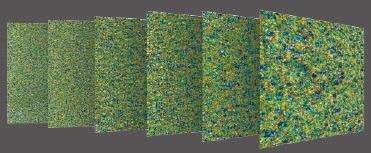
Image Credit: Sensofar Metrology
SensoPRO
Executing quick quality control on a production line has never been so easy. With SensoPRO, the operator needs to load the sample and track guided instructions to get “pass or fail” criteria. Plug-in-based data analysis algorithms offer a high degree of flexibility.
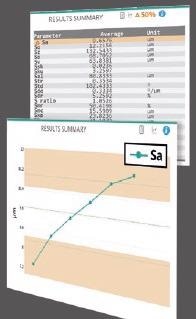
Image Credit: Sensofar Metrology
System Specifications
Table 1. Source: Sensofar Metrology
| . |
. |
| Measuring principle |
Fringe Projection (Gray code & Slit, Gray code & Phase Shift) |
| Observation types |
Bi-telecentric lens with 0.243X magnification and 0.015 NA |
| Color camera |
5Mpx: 2448x2048 pixels (60 fps) |
| Total magnification (27" screen) |
11X |
| Display resolution |
0.001 µm |
| Max. Extended measuring area |
300x300 mm with 10x12 stitched fields (Max. resolution 450 Mpx) |
| Vertical measuring range |
10 mm (up to 40 mm) |
| XY stage range |
Manual: 150x100 mm; Motorized: 154x154 mm, 302x302 mm |
| LED light sources |
Green (530 nm) and blue (460 nm) |
| Ring light illumination |
White |
| Sample weight |
up to 25 Kg |
| Sample height |
105 mm (standard); 280 mm (optional) |
| User management rights |
Administrator, advanced operator, operator |
| Advanced software analysis |
Included: SensoVIEW; Optional: SensoPRO, SensoMAP, Geomagic® |
| Power |
Line Voltage 100-240 V AC; frequency 50/60 Hz single phase |
| Computer |
Latest INTEL processor; 3840x2160 pixels resolution (4K) (27”) |
| Operating system |
Microsoft Windows® 10, 64 bit |
| Weight4 |
55 Kg (121 lbs) table-top system; 8 Kg (18 Ibs) integrable head |
| Environment |
Temperature 10 ºC to 35 ºC; Humidity <80 % RH; Altitude <2000 m |
Objective Lenses
Table 2. Source: Sensofar Metrology
| |
FRINGE PROJECTION |
| MAG |
0.243X |
| NA |
0.015 |
| WD (mm) |
80 |
| FOV1 (mm) |
34.7 x 29.1 |
| Spatial sampling2 (µm) |
14.2 |
| Optical resolution3 (µm) |
9.35 |
Accuracy and Repeatability
Table 3. Source: Sensofar Metrology
| Standard |
U , σ |
| Step height |
U = 2.5 µm,
σ = 0.05 µm |
| Area roughness (Sa) |
U = 1 µm,
σ = 0.01 µm |
Profile
roughness (Ra) |
U = 1 µm,
σ = 0.05 µm |
1 Maximum field of view with 3/2” camera. 2 Pixel size on the surface. 3 L&S: Line and Space. Values for blue LED. 4 Adjustable stand with H105 XY Stage.
Dimensions
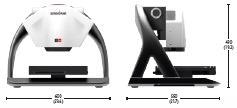
Image Credit: Sensofar Metrology