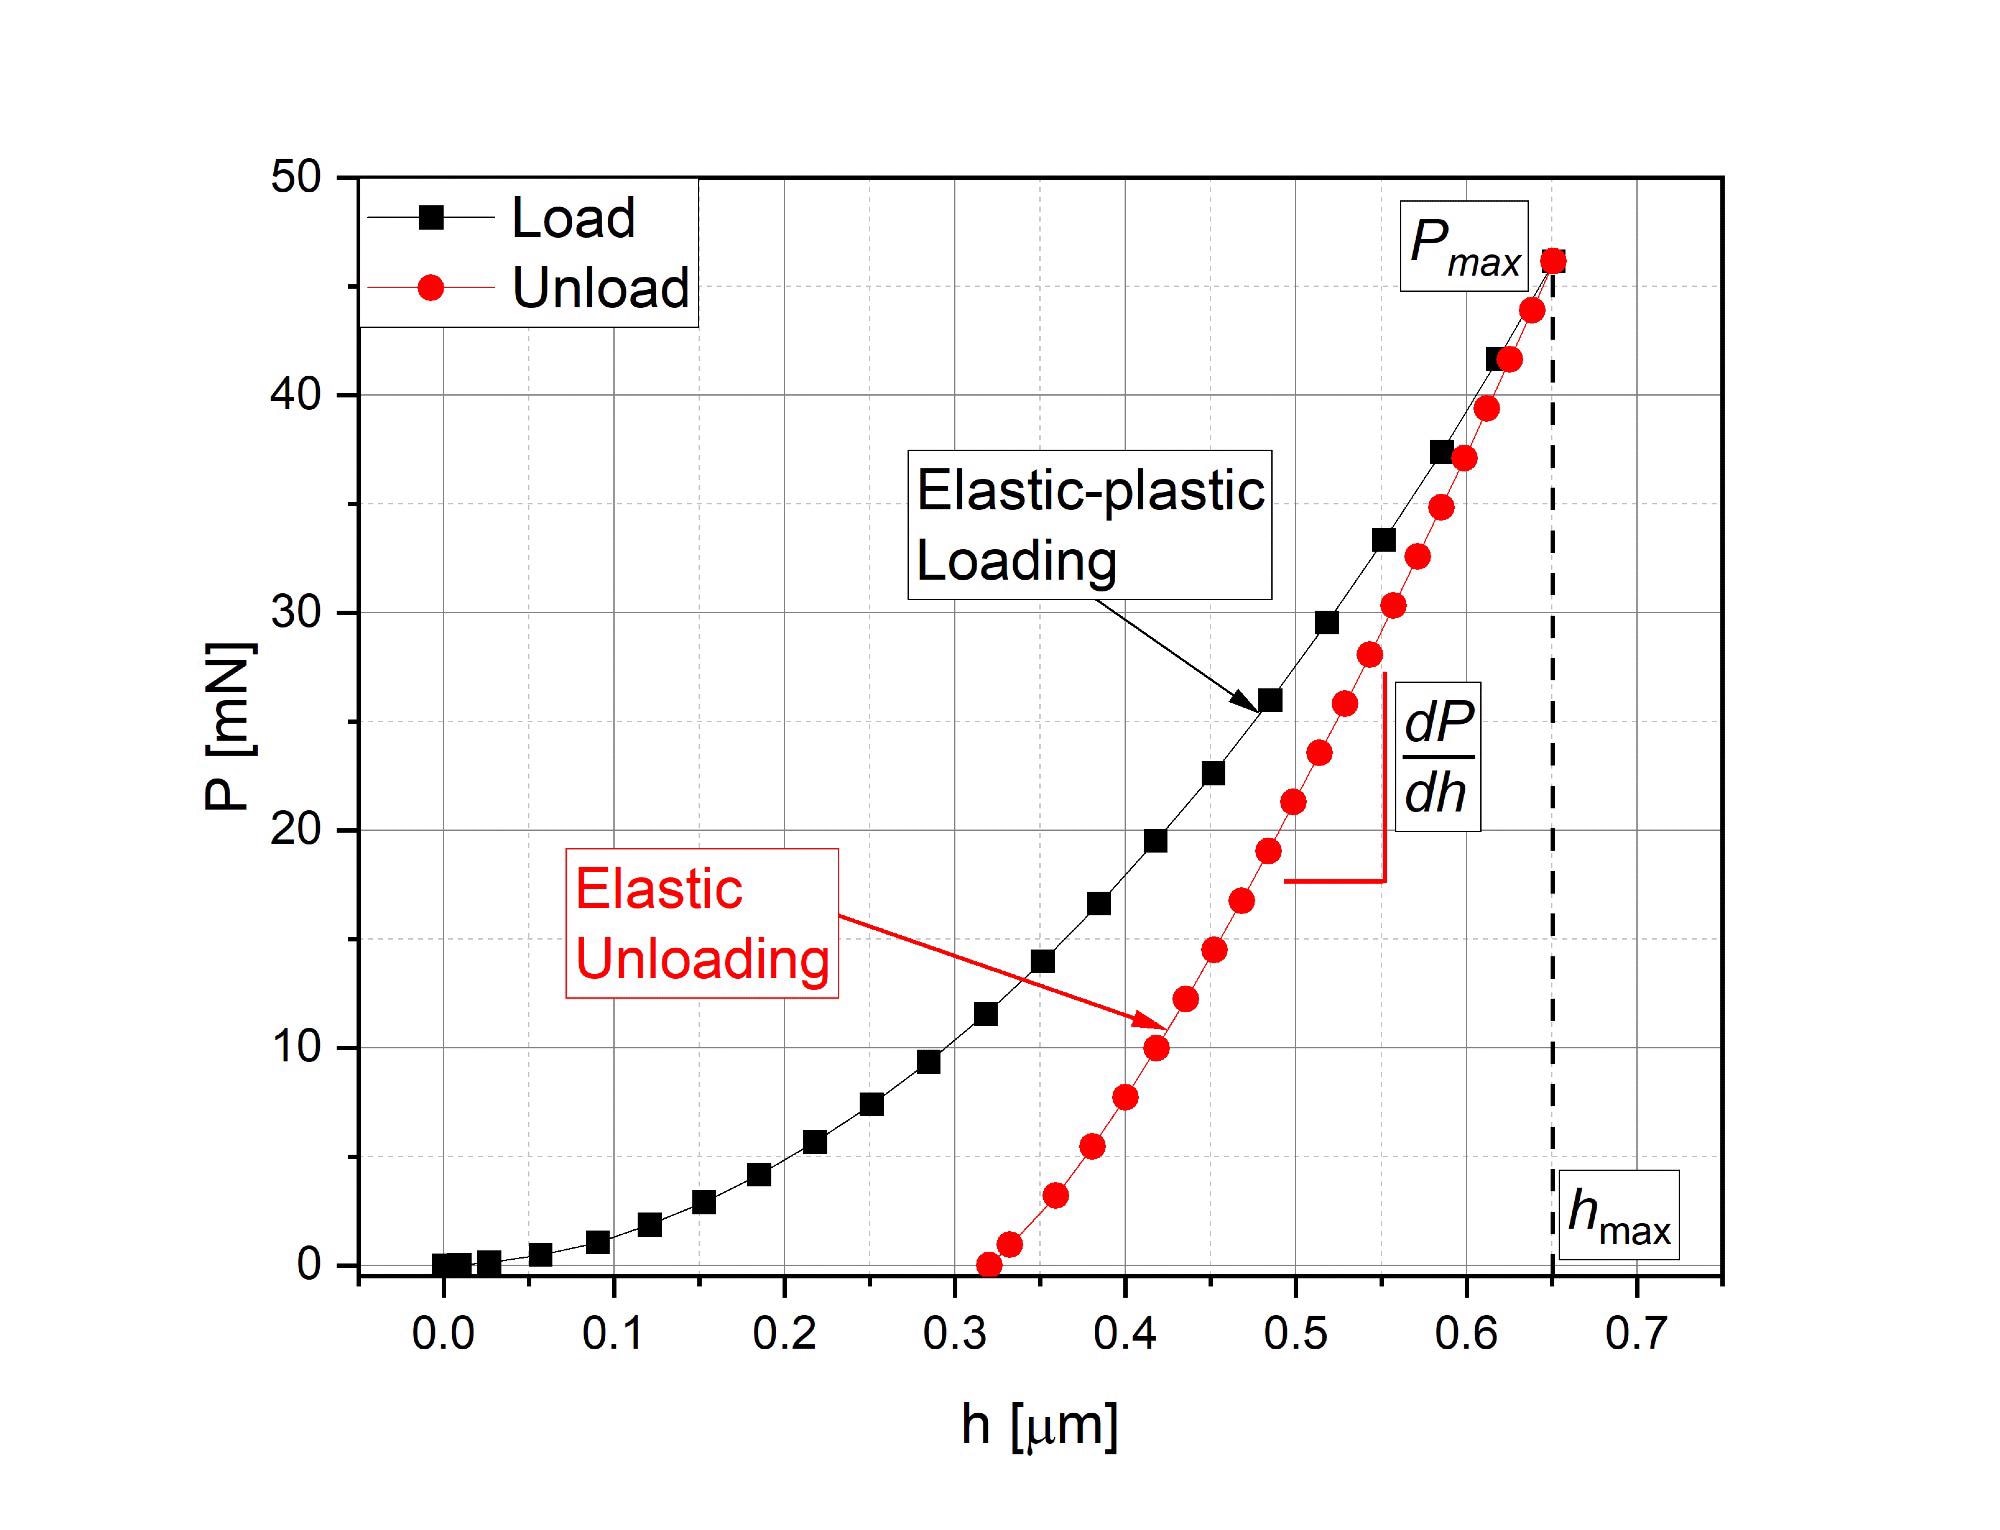
Nanoindentation is the solution for revealing the quantitative mechanical properties of materials in small volumes. This method is currently a proven technique for establishing plastic, elastic, and visco-elastic properties of materials such as biological materials, hard thin films, ceramics, multi-phase metals, semiconductors, soft films, and plastics from micron to nanometer scale.
Nanoindentation
A nanoindentation test offers precision load-displacement curves for testing on both hard and soft surfaces, as well as rough surfaces such as those caused by industrial processes such as thermal spray coatings by quantitatively measuring the mechanical properties of materials in small volumes.
Biological materials, thin films, multi-phase metals, and ceramics, etc. are the key applications for these instruments. However, they can also be utilized for flexure testing of MEMS, viscoelastic measurements of polymers, and any application requiring mechanical measurement on the sub-micron scale. The materials properties measured are yield strength, elastic modulus and hardness, and, based on the sample, fracture toughness, storage and loss moduli, as well as scratch and wear properties.

Nanoindentation Tester
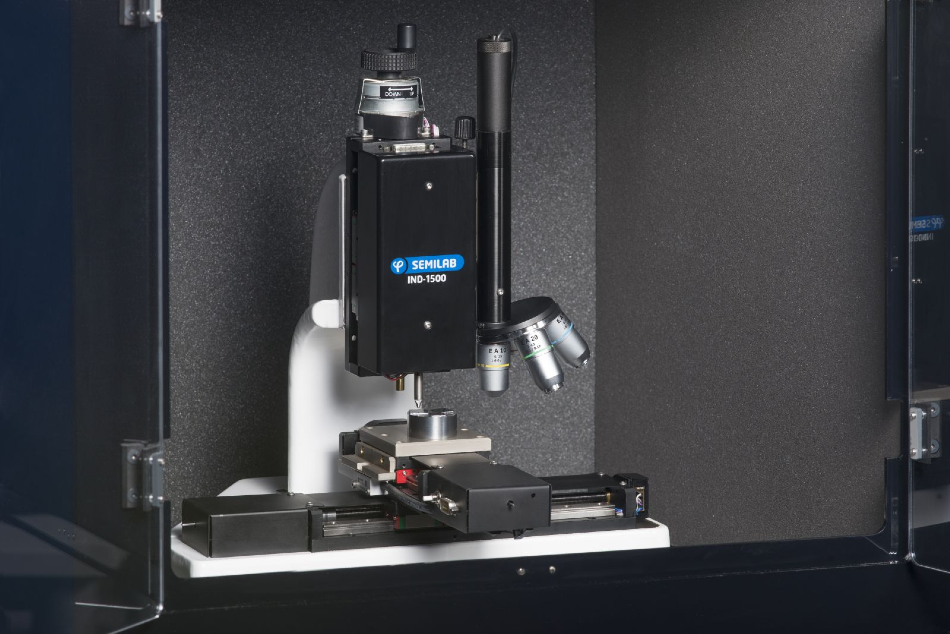
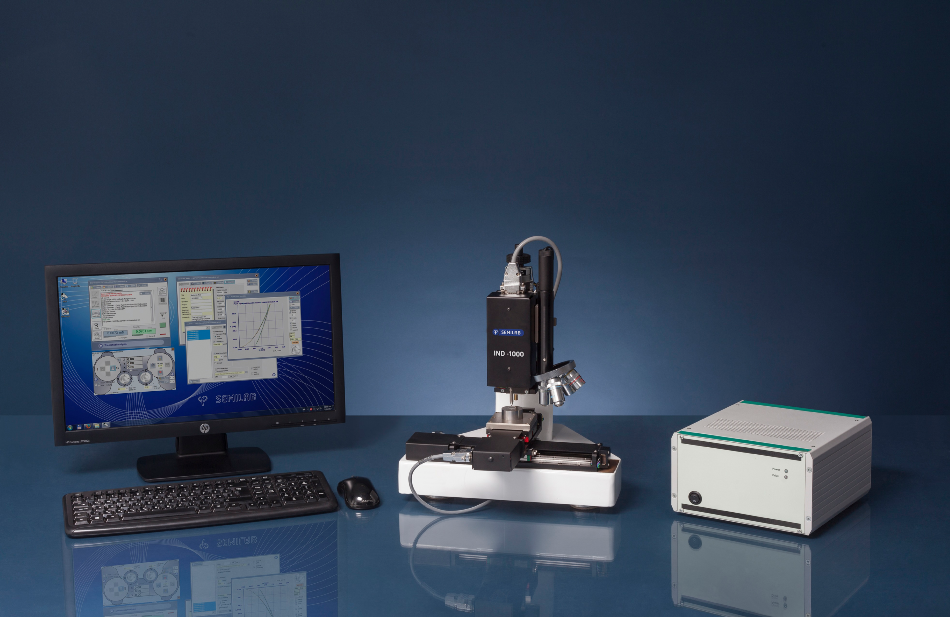
The IND-1500 instrument, which has additional features of the IND-1000, is built to impart a controlled load and deformation of the material under investigation. The material’s mechanical response is measured using force and displacement sensors. The resolution and range of the actuator, force and displacement sensors, are very small (in the mN and μm range with nN and nm resolution).
The accurate nature of the measurement allows recording of events on the micro- to the nanoscale. Thus, it is possible to interpret and explain macro-scale damage by events on the sub-micron scale, thus permitting the basic properties of the sample to be examined and customized for particular applications.

The IND-1500, with the additional features of the IND-1000, uses robust LVDT sensors for both depth and force measurements. AC amplification offers a μV noise floor in this advanced package. Special circuitry balances the signal to make the most of the complete range of the analog-to-digital interface.
Features
- Dynamic and static measurement modes
- High-resolution depth profile for hardness and Young’s modulus
- Combined with scratch tester
- Additional optical microscope provided on the same Z-axis
- Software integration with finite element analysis software
- AFM on the same Z-axis (optional)
In the late 1980s, CSIRO pioneered the use of LVDT measurement sensors for nanoindentation applications. Since then, with experience, the method has been well established, delivering low-noise sub-nanometer resolution and in a very robust package.
In contrast to competitor instruments that make use of a capacitance sensor, the IND system is virtually immune to mechanical breakage caused by overloading of the indenter shaft because the indenter shaft passes directly through the sensor and can endure several millimeters of inadvertent deflection without any problem.
The force sensor is fully isolated from the load actuator and quantifies the force applied to the indenter directly, without any signal subtraction from support springs. The force and depth sensors are individually calibrated against international standards. It is possible to choose closed-loop feedback from the force sensor or the depth sensor. Users can also select the open-loop mode of operation for high-speed data acquisition.
Advantages of IND-1000

- Sturdy design can endure substantial overuse
- The technology has been developed based on the effective nanoindentation system from Fischer-Cripps Laboratories
- Measured material properties include fracture toughness, hardness, elastic modulus, yield strength, storage and loss moduli, scratch and wear properties (based on the sample)
- Superior quality PZT expansion element, without heat generation
- Sub-nanometer depth resolution and highly linear response LVDT
- Closed-loop force/depth feedback
- Real-time feedback control over application of load- or depth-independent force and displacement measurement
- Calibration is traceable
- Low compliance load frame, enclosure, and mountings
- Virtually immune to mechanical breakage, in contrast to competitor devices
- Accurate positioning of the sample is guaranteed by automated X-Y-Z-movement and video microscope
- Easy to change indenter tip
- No periodic calibration required
- Dependable performance for many years
Optional Features
- Atomic Force Microscope
- Integrated Finite Element Analysis Module
- Lateral force (Scratch Testing Module)
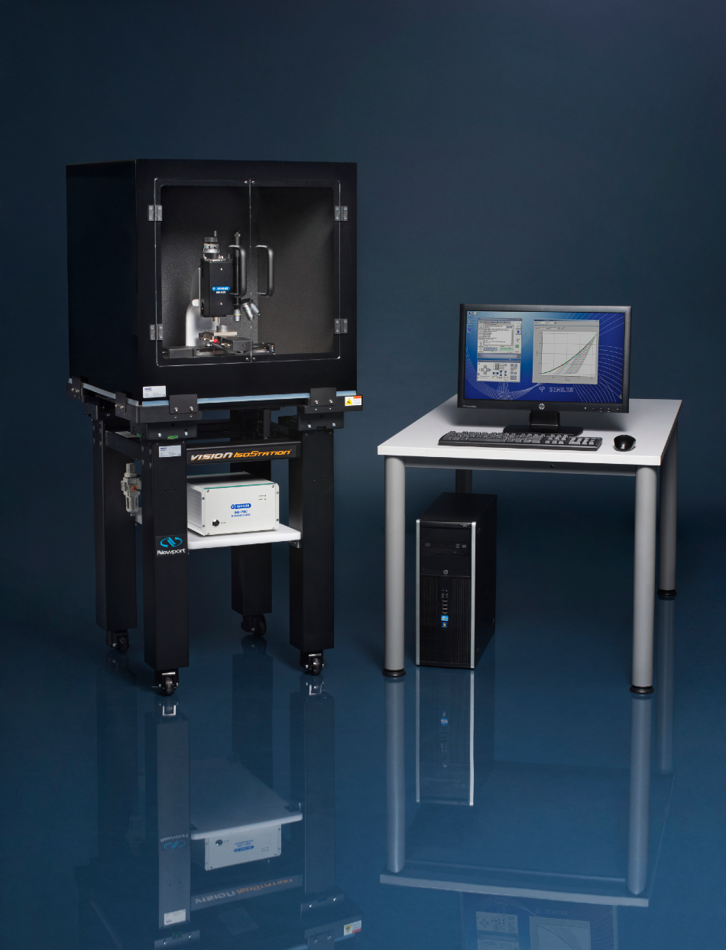
IND-1500 Benefits

- Enhanced voice isolation
- Improved vibration discharge