The HD-CR 35 NDT-CR-Scanner is a portable high-resolution CR scanner that can be used for all NDT radiography applications, such as weld inspection, profile images, and aerospace.
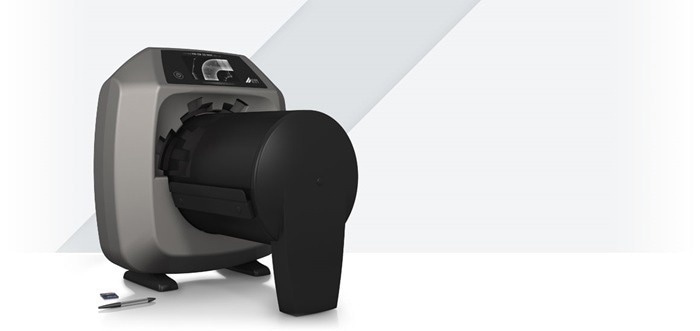
Image Credit: DÜRR NDT GmbH & Co. KG
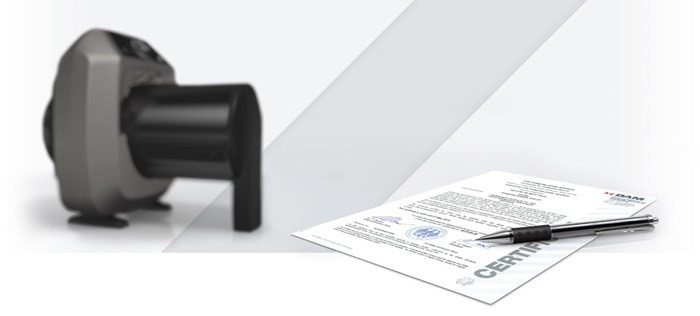
Image Credit: DÜRR NDT GmbH & Co. KG
TreFok Technology
The device has multi-focus laser adjustment for optimal SNR values and film-like or further enhanced image quality.
30 µm SRb
We are the only manufacturer in the world with BAM certification and a foundation spatial resolution of 30 μm.
DICONDE Compliant
The scanner fully conforms to applicable DICONDE, ASTM, and EN standards.
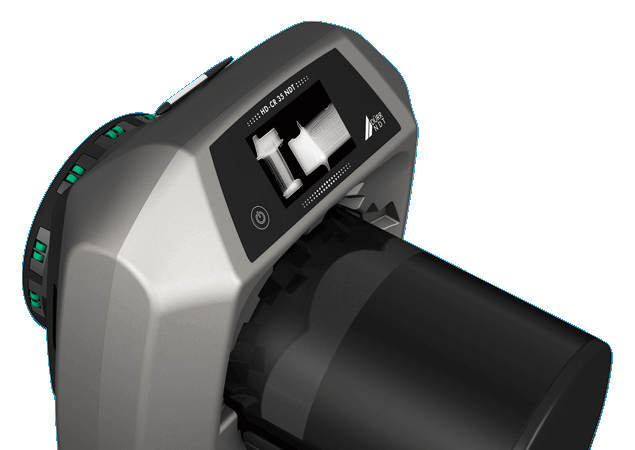
Image Credit: DÜRR NDT GmbH & Co. KG
- A broad range of applications
- A variety of radiographic inspection activities are made possible by TreFok Technology.
- Flexible formats
- Scans individual shapes along with flexible imaging plates in sizes up to 35cm.
- Intuitive handling
- The transition from film is hassle-free.
- Portable and compact
- It is the world’s lightest full-format scanner, weighing only 17.5 kg (38.5 lbs)
- Robust D-Tect X software
- 5-year guarantee (guarantee conditions)
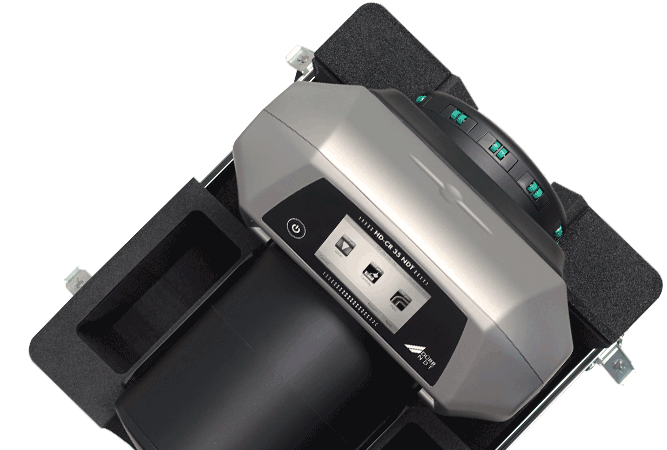
Image Credit: DÜRR NDT GmbH & Co. KG
- High throughput
- Multiple imaging plates can be scanned at the same time.
- Stand-alone function
- The built-in Mini-PC enables autonomous operation
- WiFi
- WLAN connectivity is made possible by the onboard WiFi adaptor
- Extremely low maintenance
- Even if utilized in dusty conditions, minor servicing is only required every two years.
- Experience
- Technology that has been tested in over 100,000 units.
- Made in Germany
- Development and production in Germany.
TreFok Technology
Three Scanners in One
What Does Trefoc Technology Mean and How Does It Work?
The new laser focusing technique, exclusive to DÜRR NDT equipment, is called the TreFoc Technology. TreFoc allows precise laser beam adjustment for the best image quality and maximum signal-to-noise ratio possible in any given application.
An iris diaphragm inside the laser tube modifies the diameter of the laser beam. For every type of object and image, the ideal laser beam diameter can be chosen, making it simple to get the best results for a given application.
The exclusive TreFoc Technology consistently produces flawless image results with the best SNR, regardless of the application—high-resolution images or low-exposure corrosion monitoring. The maximum resolution of the imaging plates that are currently on the market is taken into account while adjusting the laser beam diameter.
Hence, a laser beam focused especially on each type of imaging plate can be used to read it, guaranteeing the best possible image with the least amount of noise.
Never before has digital radiography been so sophisticated!
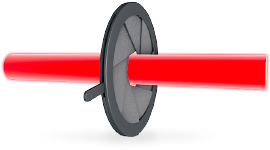
50 µm Corrosion measurements, overview radiographs, isotope applications. Image Credit: DÜRR NDT GmbH & Co. KG
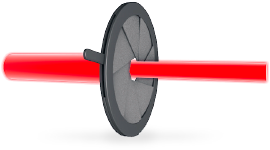
25 µm Weld inspection, metal casting, isotope applications. Image Credit: DÜRR NDT GmbH & Co. KG
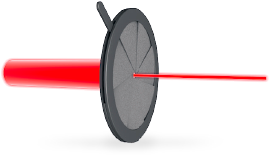
12.5 µm Weld inspection, aerospace, composite materials. Image Credit: DÜRR NDT GmbH & Co. KG
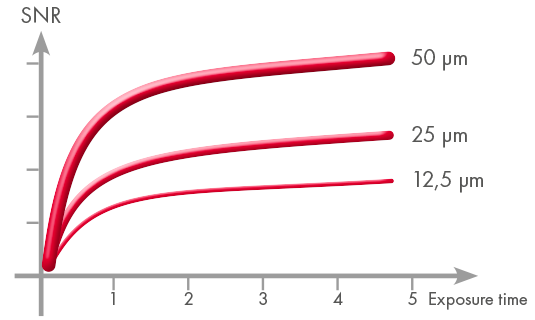
Image Credit: DÜRR NDT GmbH & Co. KG
TreFoc - The new standard in Computed Radiography (CR)
Video Credit: DÜRR NDT GmbH & Co. KG
Standard Operation
Standard Operation Workflow
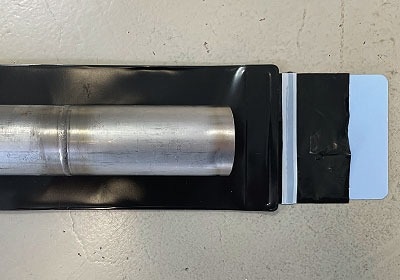
1. Position imaging plate and expose. Image Credit: DÜRR NDT GmbH & Co. KG
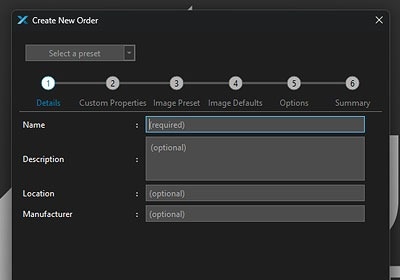
2. Select an existing order or create a new one. Image Credit: DÜRR NDT GmbH & Co. KG
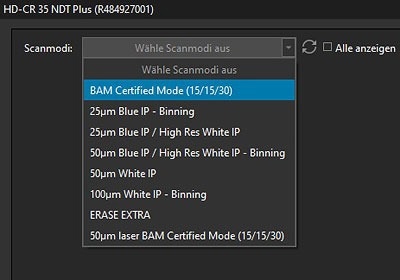
3. Select the desired scan mode. Image Credit: DÜRR NDT GmbH & Co. KG
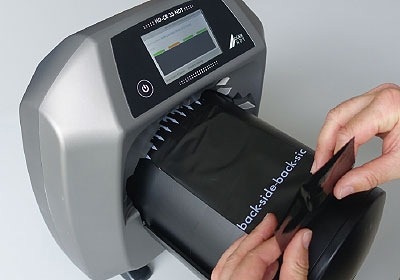
4. Feed in the imaging plate – intake then starts automatically. Image Credit: DÜRR NDT GmbH & Co. KG
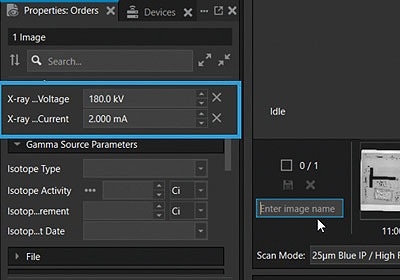
5. Set image name and save. X-ray source parameters can also be recorded. Image Credit: DÜRR NDT GmbH & Co. KG
I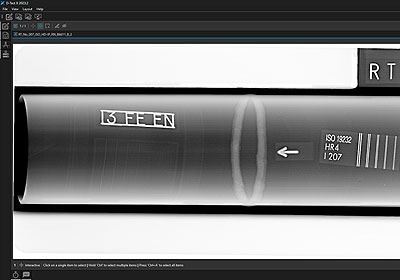
6. Examine the image or forward it for examination. Image Credit: DÜRR NDT GmbH & Co. KG
Mobile Operation
Mobile Operation Workflow
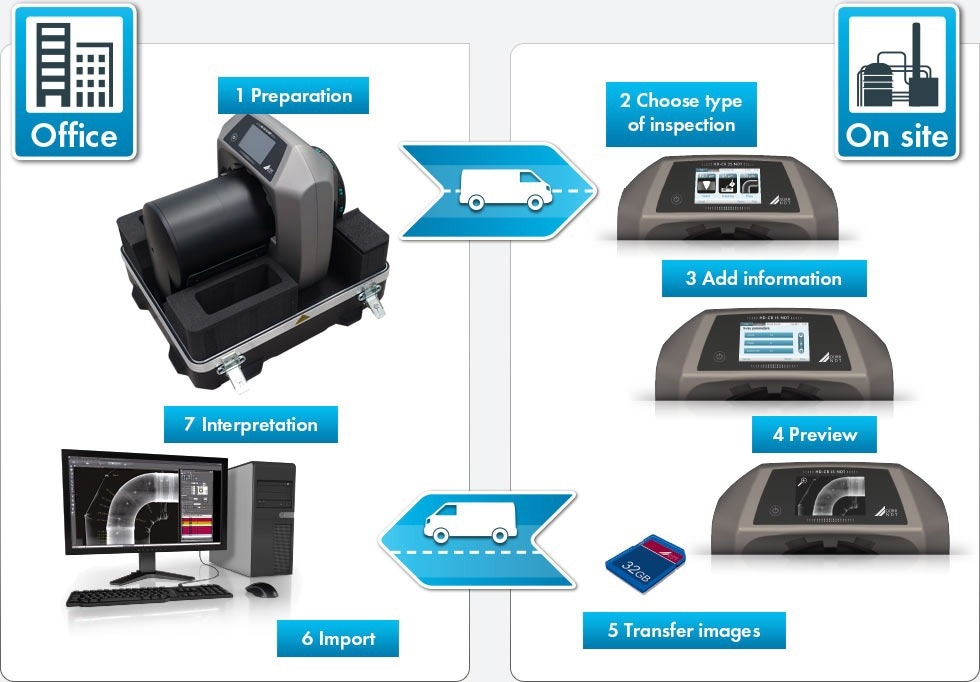
Image Credit: DÜRR NDT GmbH & Co. KG
Remote Operation Without PC
Scan Process
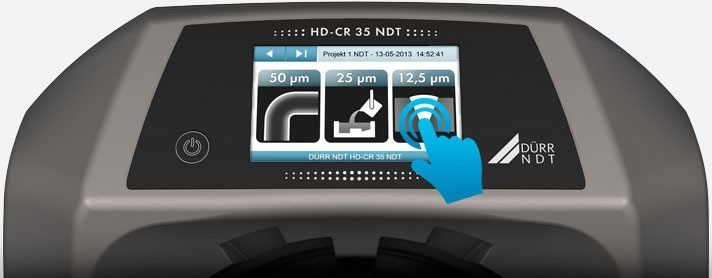
Image Credit: DÜRR NDT GmbH & Co. KG
Once the object type has been chosen, the scanner precisely adjusts all scan parameters so that the best possible image can always be anticipated.
Add Information
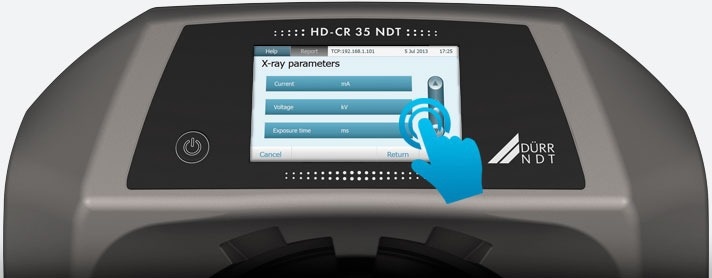
Image Credit: DÜRR NDT GmbH & Co. KG
Some predefined fields, such as kV, mA, and exposure time, may be filled in with extra information if necessary. Those could also be introduced to differentiate between various jobs or sites. This step can be omitted if no more information is needed.
Preview and Release
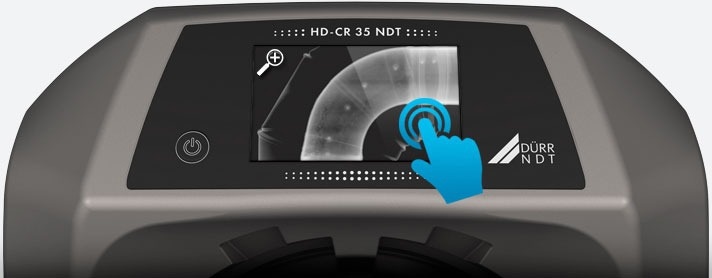
Image Credit: DÜRR NDT GmbH & Co. KG
Following the scan, the image’s quality can be examined on the integrated display before being approved for storage.
Technical Data
Source: DÜRR NDT GmbH & Co. KG
| |
HD-CR 35 NDT |
| Laser spot size |
12.5 – 25 – 50 µm, TreFoc Technology |
| SRb (basic spatial resolution) |
30 µm, BAM certified* |
| Grayscale resolution |
16 bit (65.536 gray levels) |
| Min./Max. imaging plate size (W x L) |
2 to 35 cm x 3 to 200 cm (0.8 to 14" x 1.2 to 79") |
| Dimensions (H x W x D) |
40 x 37 x 47 cm (15.8 x 14.6 x 18.5") |
| Weight |
17.5 kg (38.6 lbs) |
| Power supply |
100 – 240 VAC / 50 – 60 Hz < 140 W |
| Operating conditions |
10 to 35 °C (50 to 95 °F) |
| Noise level |
< 39 dB(A) |
| Laser class |
I (EN 60825-1: 1994-03 + A1: 2002-07 + A2: 2001-03) + CFR 1040.10 |
| Interfaces |
Ethernet, WLAN |
| Touchscreen |
4.3" TFT, 800 x 480 px |
| Internal storage |
SDHC, max. 32 GB |
| Software |
DÜRR NDT D-Tect (DICONDE compliant to ASTM 2339) |
| System requirements |
> Download |
*according to ISO 16371-1, ASTM E 2445, ASTM E 2446
Sample Images
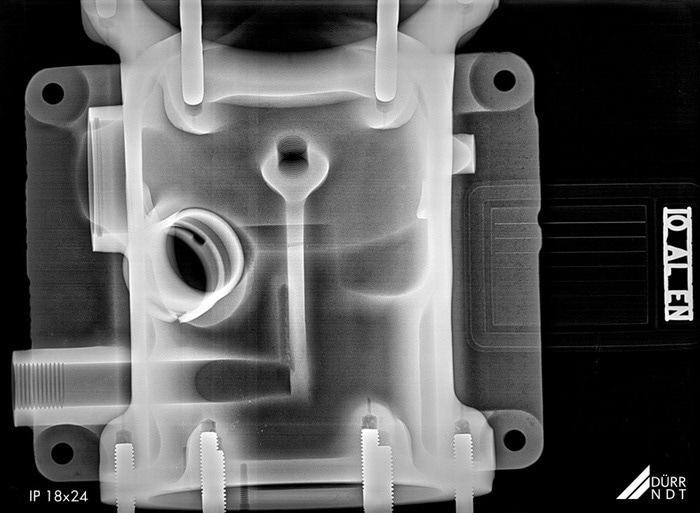
Casting. Image Credit: DÜRR NDT GmbH & Co. KG
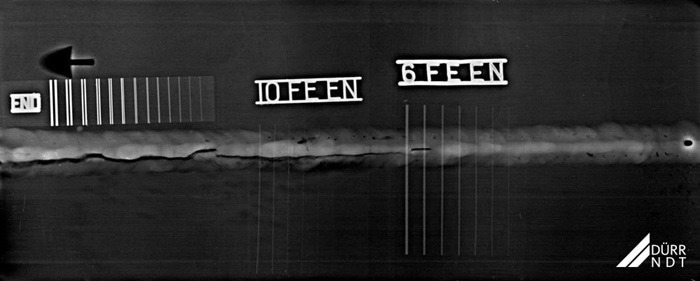
Weld Seam Steel 15 mm. Image Credit: DÜRR NDT GmbH & Co. KG
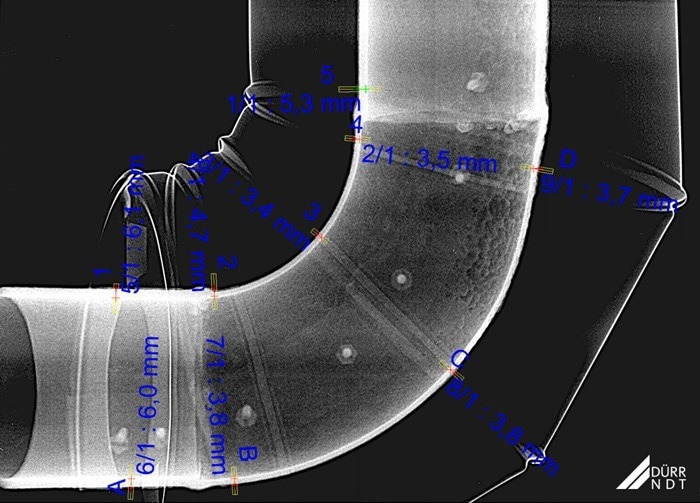
Wall thickness measurement. Image Credit: DÜRR NDT GmbH & Co. KG
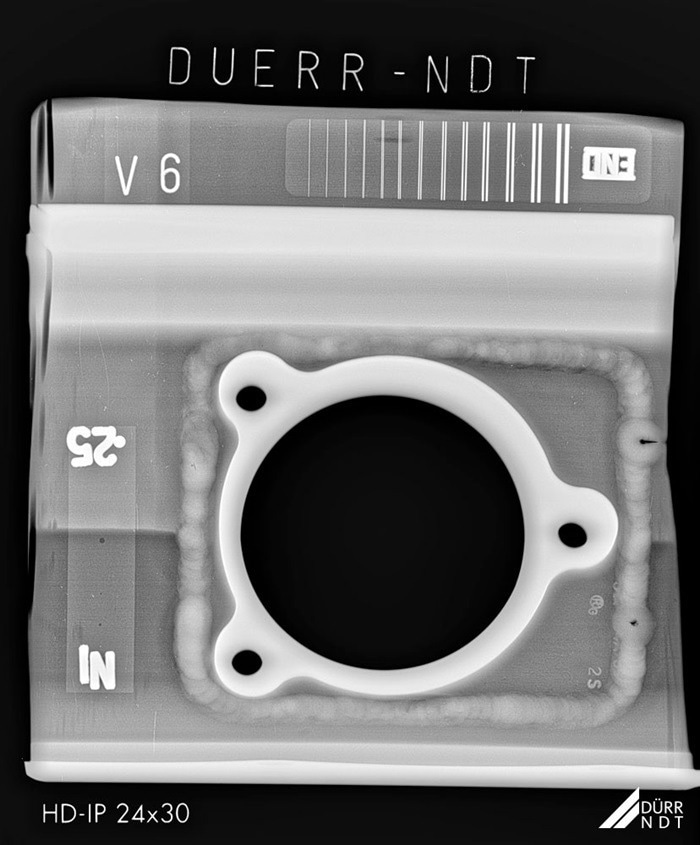
Casting. Image Credit: DÜRR NDT GmbH & Co. KG
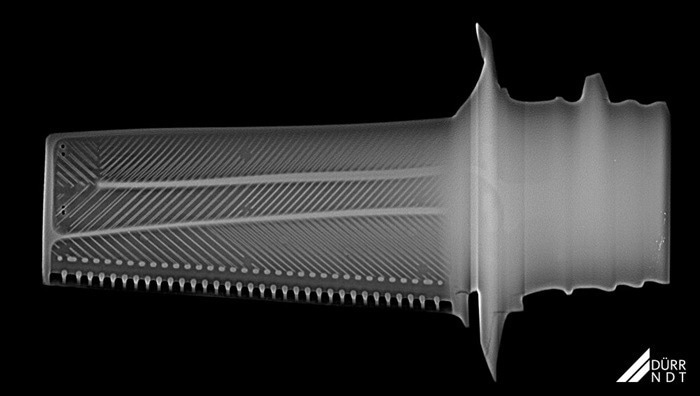
Turbine plate. Image Credit: DÜRR NDT GmbH & Co. KG
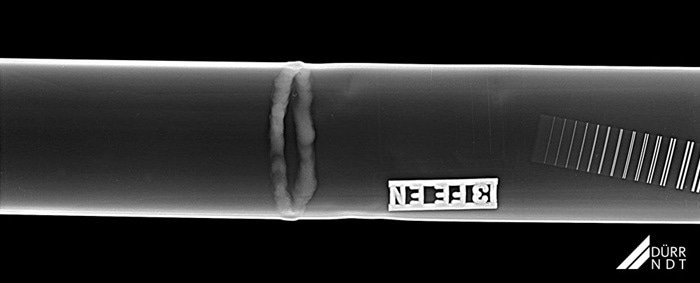
Pipe weld seam DN 50 × 2 mm. Image Credit: DÜRR NDT GmbH & Co. KG
Applications
Source: DÜRR NDT GmbH & Co. KG
| |
HD-CR 35 NDT |
CR 35 NDT |
| Weld inspection (1) |
★ ★ ★ ★ ★ |
★ ★  ☆ ☆ ☆ ☆ |
| Erosion and corrosion inspection (2) |
★ ★ ★ ★ ☆ |
★ ★ ★ ★ ★ |
| Metal casting (3) |
★ ★ ★ ★ ★ |
★ ★  ☆ ☆ ☆ ☆ |
| Metal precision casting (3) |
★ ★ ★ ★ ★ |
☆ ☆ ☆ ☆ ☆ |
| Composites |
★ ★ ★ ★ ★ |
☆ ☆ ☆ ☆ ☆ |
| Arts |
★ ★ ★ ★ ★ |
★ ★  ☆ ☆ ☆ ☆ |
| Concrete inspection |
★ ★ ★ ★ ☆ |
★ ★ ★ ★ ★ |
| Crystal structure analysis |
★ ☆ ☆ ☆ ☆ |
★ ★ ★ ★ ★ |
Also suitable for inspections according to 1 ISO 17636-2, ASME V, 2 EN 16407-1, EN 16407-1, 3 ISO 16371-2