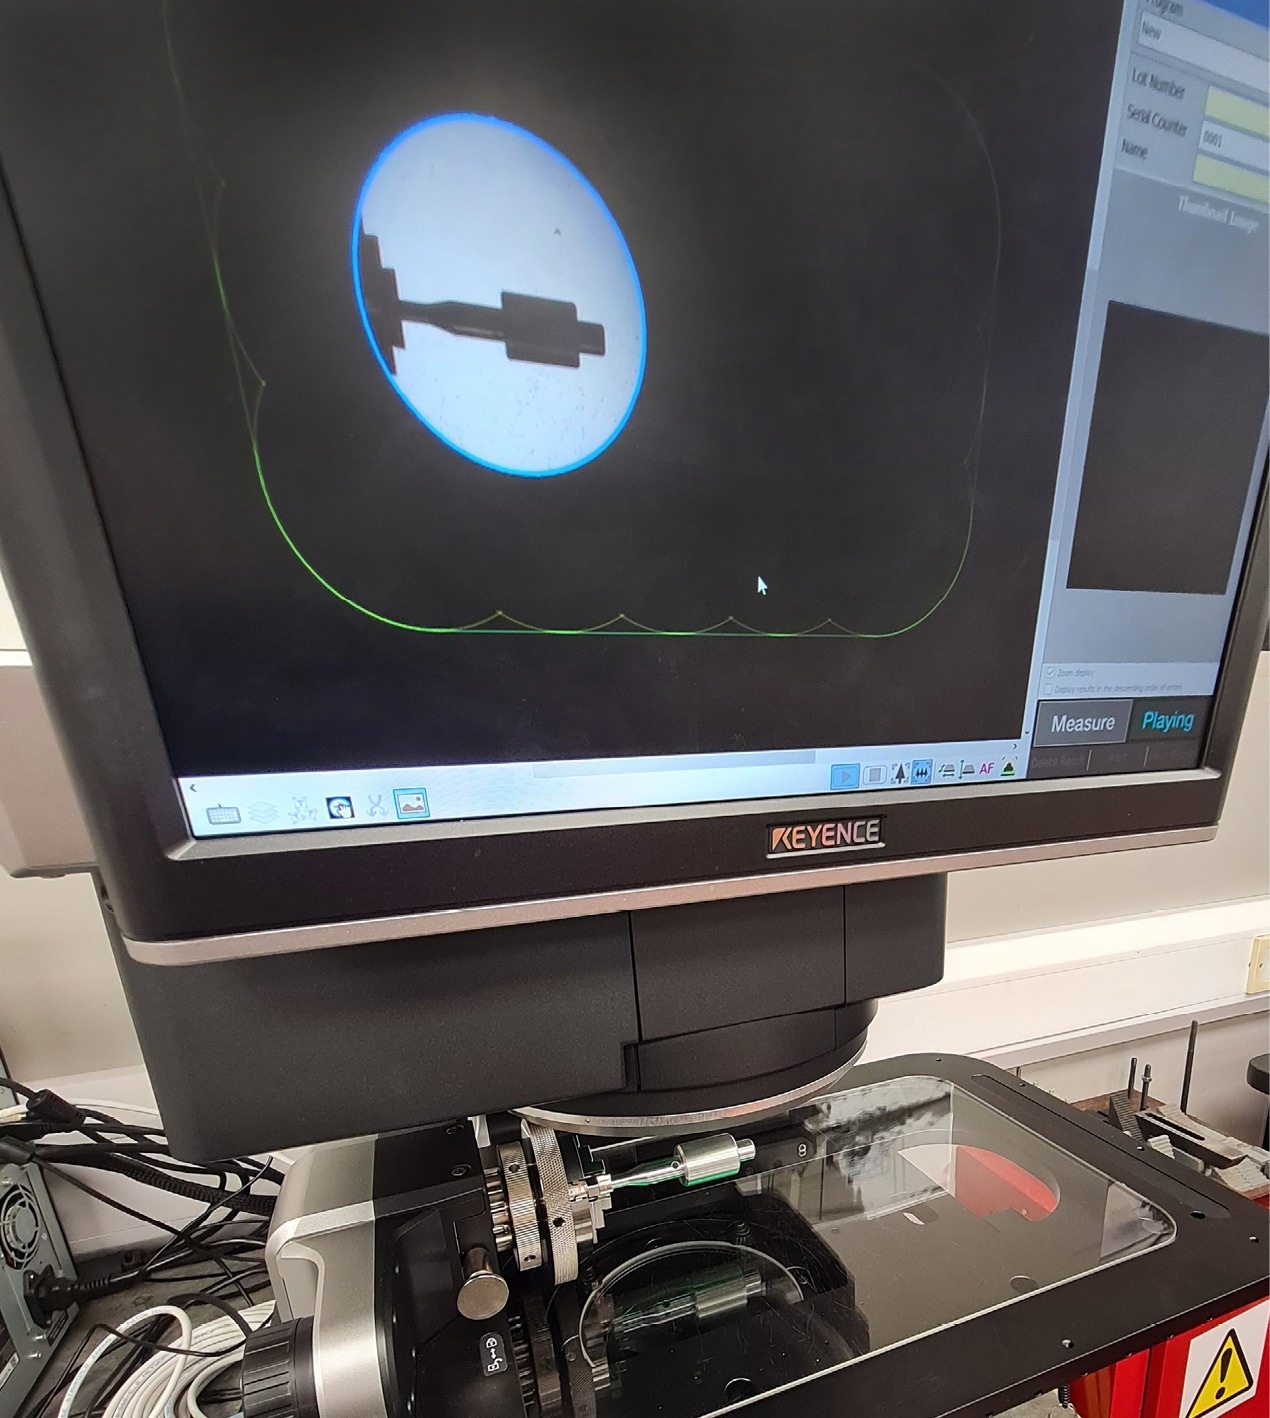
Ford Aerospace, an award-winning global specialist in pressed and high-precision machined parts for a multitude of industries, is leveraging the benefits of a new KEYENCE IM-8000 instant measuring system.

Image Credit: Ford Aerospace
The speed of the IM-8000 is already generating significant savings in inspection time, while simultaneously extending the company’s measurement function to machine operators thanks to inherent system simplicity.
Ford Aerospace Limited is a modern, agile manufacturing business that is today part of US-based SPIROL, which has operations around the world. From Ford’s UK headquarters in South Shields, close to where founder Robert Ford began the company in 1910, the 77-employee firm prides itself in the provision of highquality components at the right price, on time and with the quality needed to meet the demands of exacting clients.
“Our investment decision was based mainly on capacity,” explains Nathan McCully, the company’s Quality, Health, Safety and Environmental Manager. “We wanted an inspection system that would allow us to increase our speed of measurement for simpler components, while at the same time providing more measurement accessibility to the shop floor. We were using a video inspection system previously but it was cumbersome, slow and complex to program.”
On a day-to-day basis, Ford manufactures pressed and machined parts in accordance with the specific requirements of its customers. Although many components are complex in nature, a proportion are very simple. It was here that the company spotted an opportunity to make gains.
“Although the IM-8000 has 3D capability, it was the potential to quickly measure 2D shapes, such as shims, washers and other pressed parts that really stood out,” says McCully. “For components like this we typically perform sample inspection in quantities of 50-100. We would previously have to measure them individually and record the dimensions. However, with the KEYENCE IM-8000 we can measure all the parts simultaneously in seconds simply by pressing one button.”
The IM-8000 can perform measurement on up to 300 part features in a matter of seconds. With its simple place-and-press operation there is no time-consuming positioning or datum set-up required, while the machine automatically identifies measurement points to ensure consistency and repeatability. Furthermore, the simplicity of the IM-8000 and its intuitive interface is expanding Ford’s measurement function to other areas of the business.
“All of our shop-floor machine operators are trained in the machine’s use at a basic level,” explains McCully.
“In addition, a select number of shop-floor operators who produce more complex parts can use the programming function.”
Ford also takes advantage of the data storage capabilities of the KEYENCE IM-8000, using the information to enhance SPC (statistical process control) through easier identification of any dimensional deviations.
Another advantage that the company enjoys is the ability to join programs together when it occasionally has to inspect components larger than the machine bed.
“To be honest, we’ve not yet used some of the IM-8000’s advanced capabilities, but we will soon,” says McCully. “In the few months we’ve had the machine, the priority has centred on relieving our immediate inspection burden.”
Ultimately, the IM-8000 is drastically reducing inspection time and removing complexity and operator subjectivity at Ford Aerospace.
“From a customer perspective, the KEYENCE IM-8000 provides confidence that we are investing in quality,” concludes McCully. “Having this high-technology, high-capability inspection solution increases our speed of measurement, allowing us to accommodate greater product throughput without any compromise in quality.”
Key Figures
- Up to 300 Part feature measurements in seconds.
- ±0.5 μm Image measurement repeatability.
- 3 Times more resolution than conventional systems.