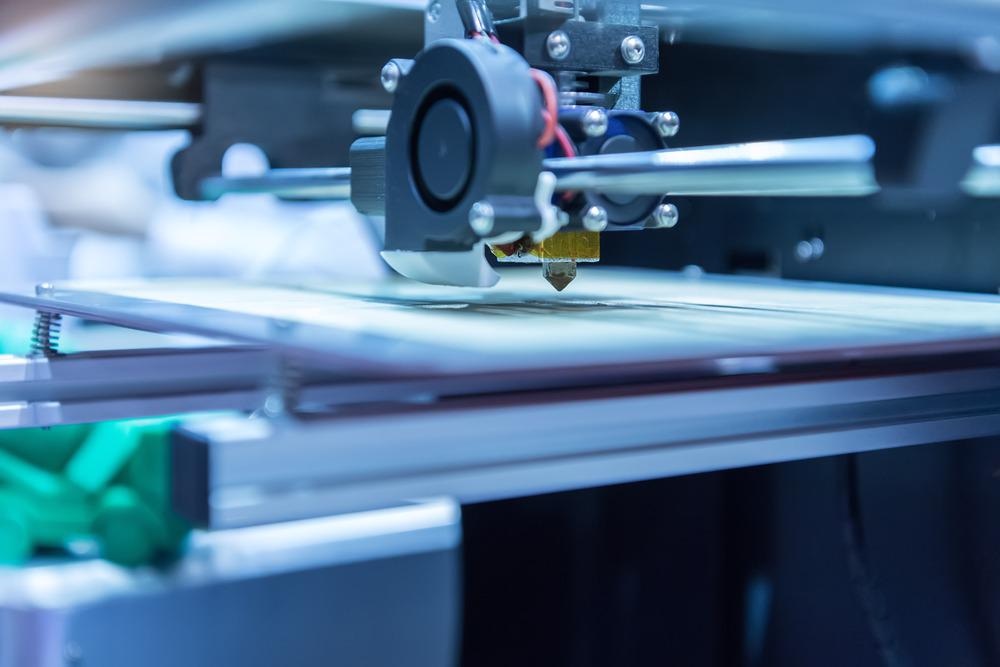
Image Credit: asharkyu/Shutterstock.com
Scientists have developed a methodology for assessing the surface topography of 3D-printed layers using optical metrology. The method ensures the quality of parts printed with additive manufacturing and will be vital to aiding the continued progression of the rapidly developing sector.
Additive manufacturing, widely known as 3D printing, has seen rapid growth in recent years as its range of applications has grown and the technology has evolved and become much cheaper and accessible. As the industry has grown, so has the need to develop solutions to additive manufacturing’s major drawback. Strength is a key issue with products created by additive manufacturing, with the key to a 3D-printed part’s strength lying in the surface profile of each printed layer.
The Increasing Popularity of Additive Manufacturing
The global additive manufacturing market was valued at around $12 billion in 2019, a figure that is predicted to reach $26.68 billion by 2027, with the industry growing at a fast rate of 14.4%.
Such rapid growth had been attributed to the developing technology, making the process of additive manufacturing not only faster and cheaper but applicable to more industries as a greater range of materials are being made compatible with the process and a wider range of shapes and forms are becoming achievable. This development has helped grow the range of additive manufacturing applications, making it an increasingly attractive manufacturing option.
Aerospace, automotive, and consumer products are sectors that have already adopted the additive manufacturing process due to its multiple advantages over conventional subtractive manufacturing processes. For example, additive manufacturing can easily produce complex and intricate shapes and produces significantly less waste than subtractive manufacturing.
As additive manufacturing continues to grow, the need to provide a solution to its setbacks has become important to ensure the industry’s future. The main challenge faced by additive manufacturing is producing parts that are consistently strong enough for their purpose. The strength of a part produced by additive manufacturing is highly dependent on the surface profile of each printed layer. This has led researchers to focus on characterizing the roughness of each surface to help develop and improve the strength of 3D-printed components.
Optical techniques are a preferred method of measuring the surface topography of 3D-printed components and for calculating their surface roughness. Here, we discuss recent research that demonstrates the effectiveness of using optical metrology in measuring surface roughness and ensuring additive manufactured part quality.
Developing an Effective Method of Measuring Surface Roughness
Measurement techniques used to measure surface roughness are categorized as being either contact techniques or non-contact techniques. Contact methods, which most often use a stylus of a sample surface to collect data that determines key features, have the obvious drawback of causing potential damage to the surface during the measurement process.
Non-contact methods, on the other hand, overcome this limitation. Numerous non-contact methods exist that are capable of measuring surface roughness such as X-ray computed tomography, laser scanning, ultrasound, and various microscopic methods, including atomic force microscopy (AFM), scanning electron microscopy, digital fringe projection, and a stereomicroscope system. Techniques of neural networks, digital image magnification, adaptive optics and modified binary speckle image have also been developed to measure surface roughness.
Among all available techniques, researchers have found that it is the structured light system that provides consistently high-quality data at high speeds and accuracy. Optical methods analyze the surface topography of components produced by additive manufacturing with impressive efficiency. However, until now, the different methods available have demonstrated significant differences.
While AM can be combined with optical sensing platforms to produce a wide variety of data relating to surface topography, different optical sensing techniques often produce different results. Therefore, current optical sensing methods require correlation analysis to produce reliable data. Researchers in the current study established a standard procedure for comparing the data obtained from various optical metrology systems.
They used two separate techniques to measure the surface topography of components produced via additive manufacturing. The team then used two statistical methods (SLS and FVM) to produce surface roughness measurements. Various cross-sections are extractable from the point cloud data generated by the two systems used via established algorithms. The arithmetic average of the roughness profile (Ra) - the surface roughness parameter - was generated using the extracted cross sections.
The two systems were compared via statistical testing, the results of which demonstrated that the Ra calculated by each system were equivocal. The team then established a data correlation and consistency approach for comparing data among point cloud datasets. The Pearson's Correlation Coefficient (PCC) proved to be a reliable indicator of different optical metrology systems converging on the same measurement across point in the sample.
The team confirmed that surface point cloud data obtained from other non-contact optical methods were able to be verified based on the framework they had created. Future research is needed to establish a standardized measurement approach in real-time. However, the first step has been taken and the team plan to continue to develop their approach.
References and Further Reading
Additive Manufacturing Market to Reach USD 26.68 Billion By 2027 | CAGR of 14.4%: Reports and Data. PR Newswire. [Online] Available at: https://www.prnewswire.com/news-releases/additive-manufacturing-market-to-reach-usd-26-68-billion-by-2027--cagr-of-14-4-reports-and-data-301163846.html
Additive Manufacturing Industry Grows To Almost $12 Billion In 2019. TJ McCue. Forbes. [Online] Available at: https://www.forbes.com/sites/tjmccue/2020/05/08/additive-manufacturing-industry-grows-to-almost-12-billion-in-2019/
Zhang, X., Zheng, Y., Suresh, V., Wang, S., Li, Q., Li, B. and Qin, H., 2020. Correlation approach for quality assurance of additive manufactured parts based on optical metrology. Journal of Manufacturing Processes, 53, pp.310-317. https://www.sciencedirect.com/science/article/abs/pii/S1526612520301171
Disclaimer: The views expressed here are those of the author expressed in their private capacity and do not necessarily represent the views of AZoM.com Limited T/A AZoNetwork the owner and operator of this website. This disclaimer forms part of the Terms and conditions of use of this website.