The UNHT³ ultra-high-resolution nanoindenter uses real force and displacement sensors to analyze a material’s mechanical characteristics at the nanoscale. UNHT’'s innovative active surface referencing mechanism reduces temperature drift and ensures compliance.
It is suitable for long-term measurements on a wide range of materials, from the atomic to the nanoscale, including polymers, extremely thin layers, and soft tissues. A vacuum chamber variant (UNHT³ HTV) is available for measurements at extremely low or high temperatures (up to 800 °C and 10-7 mbar).
To completely cover the nano, micro, and macro range, pair the UNHT3 head with another scratch or indentation tester on the Step platform. To achieve comprehensive mechanical surface characterization with a single instrument, add an AFM module.
- Measurements under ambient conditions
- Variable temperature testing from room temperature up to 200 °C
Key Features
The Most Accurate Nanoindentation Tester
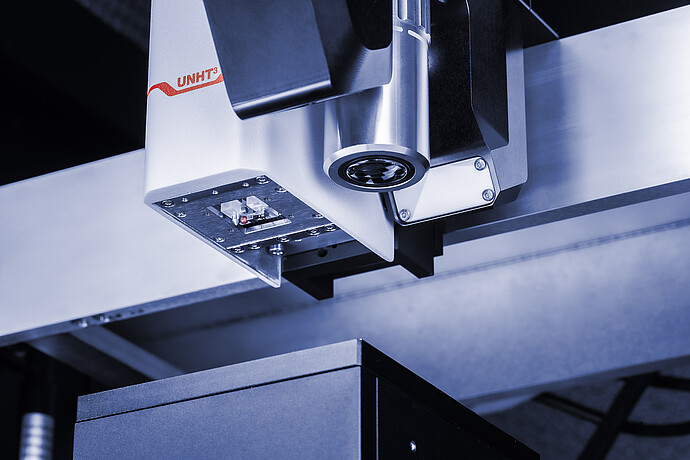
Image Credit: Anton Paar GmbH
Accurate control over forces and indentation depth is provided by two independent depth and load sensors, measured by UNHT³. Furthermore, UNHT³ provides the proprietary active top referencing design. A measuring indenter takes measurements to prevent thermal drift and compliance problems, while a reference indenter keeps track of the sample's surface location. Due to this, a wide range of indentation loads (from a few μN to 100 mN) and depths (from a few nm to 100 μm) are possible.
The Nanoindenter with the Highest Stability on the Market
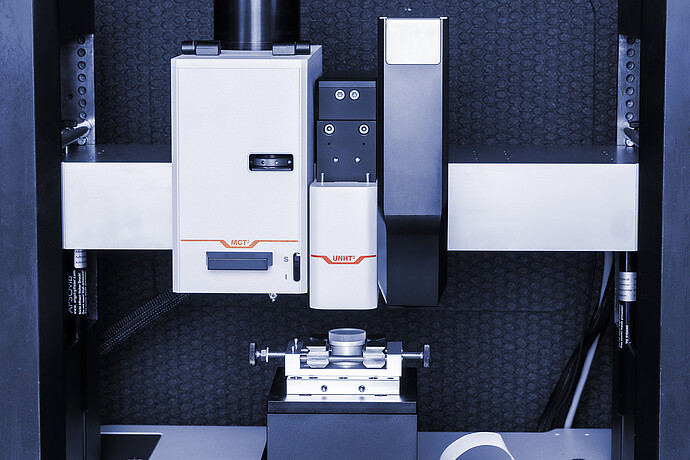
Image Credit: Anton Paar GmbH
UNHT³ is the pioneering nanoindentation tester that attains a low thermal drift of just 10 fm/sec without requiring depth correction. This is made possible by utilizing Zerodur, a material that does not expand thermally, along with the uniquely patented active top surface reference. For extended measurements, such as creep testing, the UNHT³ is the only nanoindentation tester that meets this requirement.
More Than 600 Measurements Per Hour
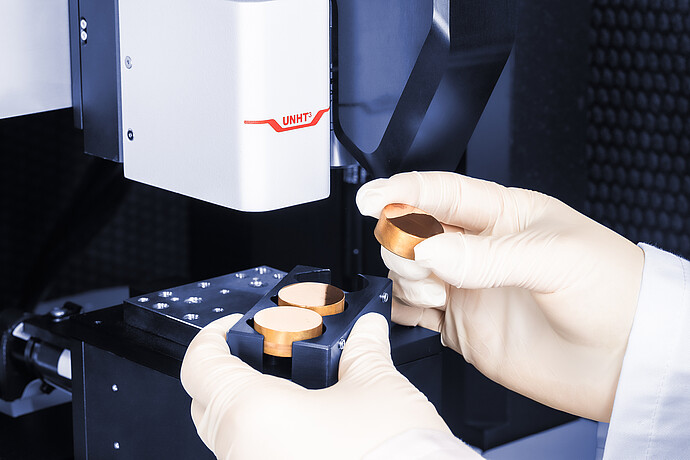
Image Credit: Anton Paar GmbH
The UNHT³ Ultra Nanoindentation Tester's unique thermal stability allows for the measurement of samples immediately upon installation, eliminating the need to wait hours for thermal stabilization. This means that several samples can be measured one at a time throughout the day.
The Quick mode can make over 600 measurements every hour with genuine indentation curves. User profiles, measurement methods, multi-sample measurements, and customized reporting provide the greatest throughput on the market.
Additional Dynamic Mechanical Analysis (DMA) with “Sinus Mode”
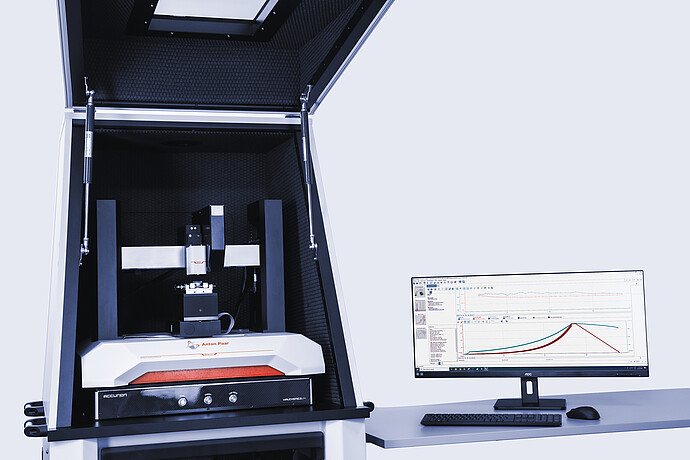
Image Credit: Anton Paar GmbH
The integrated Sinus Mode helps DMA analysis determine the viscoelastic characteristics (E', E'': storage and loss moduli, tan δ) and depth profile mechanical properties (HIT, EIT vs. depth) of samples ranging from thin films to bulk materials. In addition, the Sinus Mode provides fast indenter calibration and stress-strain analysis.
Step Platform: Maximum Instrument Versatility
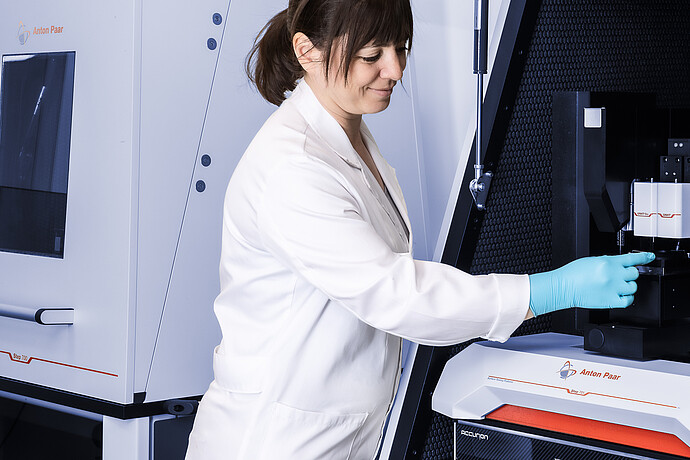
Image Credit: Anton Paar GmbH
The Step platform makes testing for thorough mechanical surface characterization possible. It consistently provides the greatest option in terms of stability, noise isolation, and adaptability, regardless of whether only nanoindentation experiments are conducted or the findings are supplemented with scratch or AFM measurements.
Measurements Under High Vacuum and High Temperatures up to 800 °C
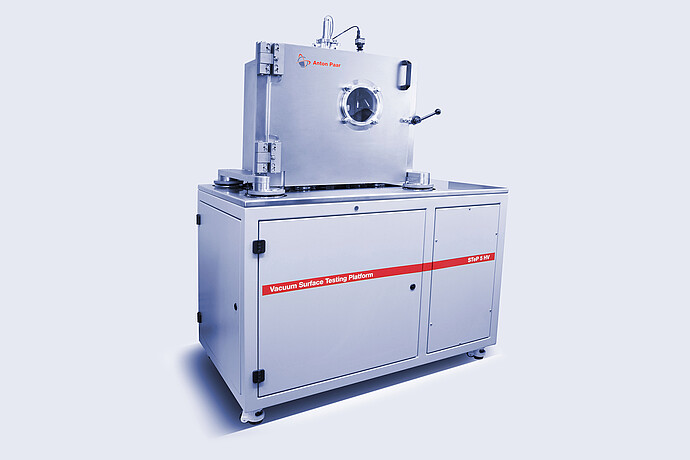
Image Credit: Anton Paar GmbH
The only ultra nanoindenter with a fully automated process for reducing thermal drift that can get <3 nm/min over the whole temperature range is the HTV variant of UNHT³. This is accomplished by a special and proprietary heating management system that precisely regulates the temperature of the indenter and sample at the same time, within 0.1 °C.
The indentation software manages the system’s heating and environmental settings, communicating with it in real time to reduce thermal drift and initiate all required measurements. A set of any indents can be planned with varying temperature steps (this is also feasible with the standard UNHT³). The instrument will take the measurements automatically based on the preset matrix.
Technical Specifications
Source: Anton Paar GmbH
| . |
. |
| Maximum load [mN] |
50 / 100(1) |
| Load resolution [nN] |
3 |
| Load noise floor [rms] [μN] |
≤0.05 |
| Loading rate [mN/min] |
Up to 1000 |
| Depth range [μm] |
50 / 100(1) |
| Depth resolution [nm] |
0.003 |
| Depth noise floor [rms] [nm] |
≤0.03 |
| Data acquisition rate [kHz] |
192 |
| Options |
| Heating stage up to 200 °C |
✔ |
| Liquid testing |
✔ |
(1) optional
Patents
Active top surface referencing for UNHT³: US 7,685,868 B2